A USB drive is a portable storage media device that connects via a Universal Serial Bus (USB) interface. Commonly referred to as a USB flash drive, pen drive, thumb drive, or memory stick, it typically uses flash memory to store data. Flash memory is non-volatile which means it is retained even after the power is turned off.
In this KB, along with wiping a USB drive, we will also touch upon wiping USB-connected external Hard Disk Drives (HDDs) and Solid-State Drives (SSDs) that are used predominantly for storing backups by enterprises.
With BitRaser Drive Eraser, you can erase USB flash drives of all types, including:
- USB flash drive (commonly known as a pen drive, thumb drive, or memory stick)
- USB-connected drive (external HDDs and SSDs with a USB interface)
The KB on how to wipe a USB drive is divided into 2 stages:
Stage 1: Download BitRaser Drive Eraser ISO & Make a Bootable USB
Stage 2: Wipe a USB drive with BitRaser Drive Eraser
Stage 1: Download BitRaser Drive Eraser ISO & Make a Bootable USB
- Step 1: Log in to your BitRaser cloud account using the credentials received in your registered email after purchasing BitRaser Drive Eraser.
- Step 2: Click on ‘Download BitRaser’ on the left pane. Click on the ‘Cloud Variant: BitRaser Drive Eraser’ option from the BitRaser Drive Eraser variants. (Refer to Image 1)
For the cloud variant, a stable internet connection is a must.
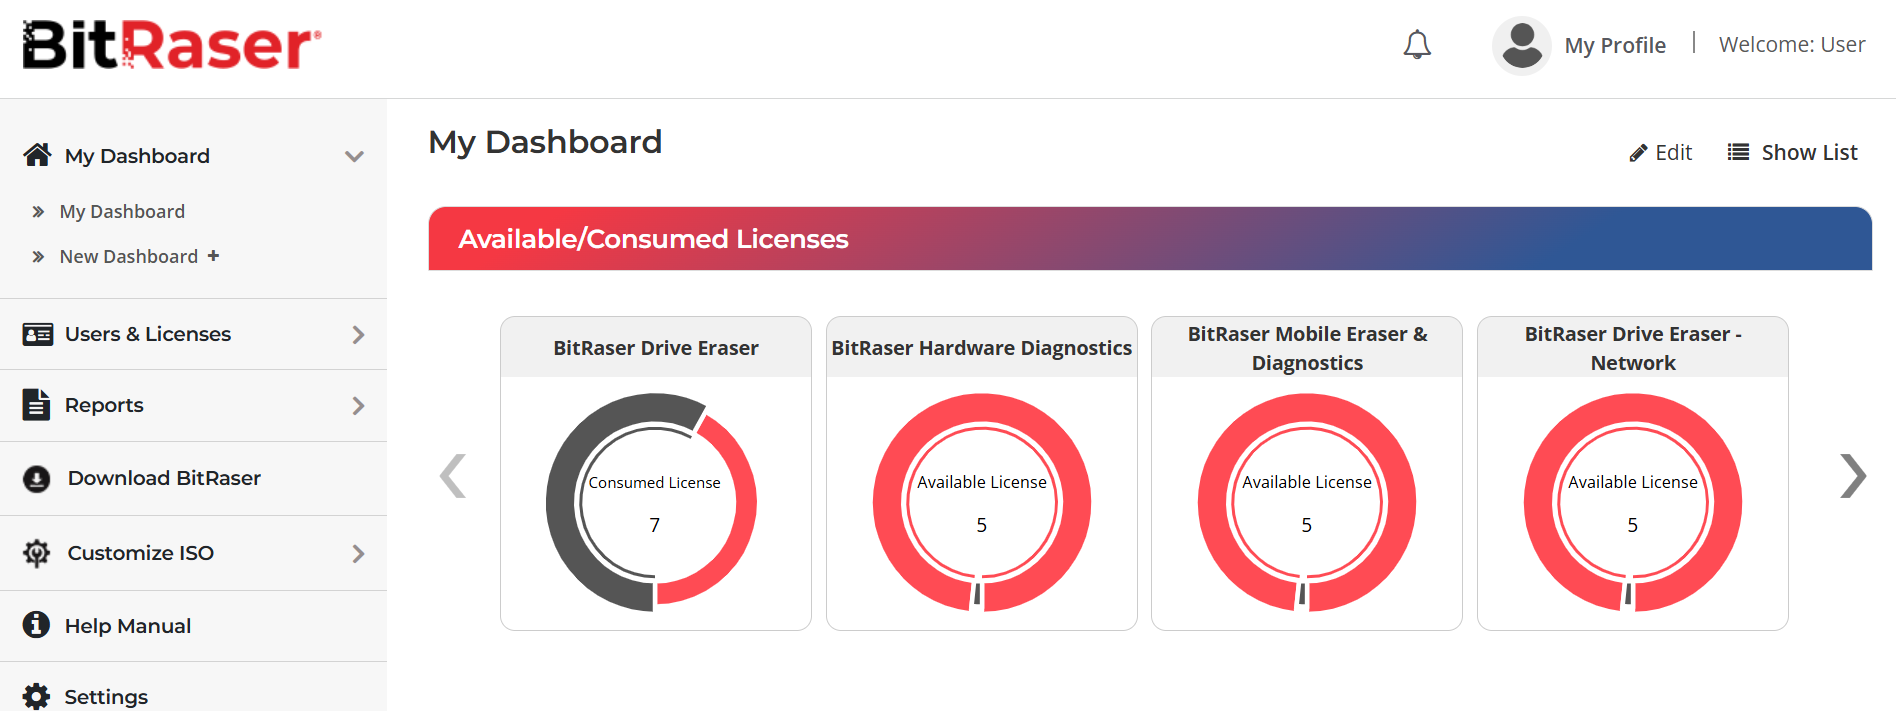
Image 1: Click on ‘Download BitRaser’
- Step 3: Go to https://rufus.ie to download Rufus – an open-source application for creating a BitRaser bootable USB. Read the instructions to prepare the BitRaser bootable USB.
Stage 2: Wipe a USB drive with BitRaser Drive Eraser
- Step 1: Connect the BitRaser bootable USB into the host machine (laptop or PC). Also, plug in the USB drive(s) or USB-connected storage media that you need to wipe into the host machine.
- Step 2: Switch ON the machine. Enter the boot selection menu by clicking on the relevant function key as per the device manufacturer.
The machine will boot, and the BitRaser Drive Eraser software will get initiated. In the menu, internal drives and externally connected USB drives get listed. By default, all connected internal and external drives are selected.
We have seen in the above KB that how to wipe a USB drive or how to wipe USB-connected drives is simple using BitRaser Drive Eraser software.


