In this KB, we will share step-by-step instructions on how to erase SED or Self-Encrypting Drive using BitRaser Drive Eraser & Diagnostics software.
A self-encrypting drive is a hard disk drive or solid-state drive that automatically encrypts data as it is written and decrypts it as it is read. SEDs perform all cryptographic operations within the drive's onboard hardware controller, eliminating the need for the host CPU or operating system to handle encryption tasks. Each SED generates a unique Data Encryption Key (DEK) internally, typically during manufacturing or first initialization, which is stored securely within the drive controller and never exposed outside the drive hardware.
Because they provide built-in encryption with minimal performance impact, SEDs are widely used in industries that handle sensitive information, including defense, healthcare, financial services, and government organizations. Some popular models of SEDs are SanDisk X300s, X400, and X600, Kingston IronKey D300S, diskAshur Pro, Samsung Portable SSD T7 Shield, ADATA DX900, DP900, Intel PRO2500, DataLocker DL4 FE, Aegis Secure Key 3NX Secure Drive, SecureData SecureUSB Duo USB Drive, NGD NVMe SED, Seagate Exos X, and MEMKOR M+ Secure.
When an SED reaches the end of its lifecycle or needs to be repurposed, the data must be securely erased to prevent unauthorized access. BitRaser Drive Eraser & Diagnostics supports secure erasure of SEDs and non-SED storage devices in compliance with globally recognized standards, including NIST SP 800-88 and IEEE 2883-2022.
Remember: To erase SED permanently, the user must have either the ‘Encryption Key’ or the ‘PSID’ (Physical Security Identification), a unique 32-character string usually printed on the SED label (See image 1).

Image 1: Physical Security ID
We have divided this KB into 2 stages to make it easier to understand and navigate:
Stage 1: Download & Create a BitRaser Bootable USB
Stage 2: Wipe Internal SED with BitRaser
Stage 1: Download & Create a BitRaser Bootable USB
- Step 1: Log in to the BitRaser Cloud Console using the credentials provided in the email you received after purchasing the software. Navigate to the ‘Downloads’ section and click on ‘Cloud Variant: BitRaser Drive & Diagnostics’ to download the software ISO image (See Image 2).
![]()

Image 2: Download Section - BitRaser Drive Eraser & Diagnostics
- Step 2: Insert a USB drive with a minimum capacity of 2 GB into your laptop or desktop. Next, download Rufus, a free utility for creating bootable USB drives. Use the software to create a BitRaser bootable USB using the downloaded ISO image.
For detailed instructions, refer to our knowledge base article: How to Create a Bootable USB Using Rufus?
Stage 2: Wipe Internal SED with BitRaser
- Step 1: Connect the BitRaser bootable USB to your laptop or desktop and power on the system. During startup, press the ‘Function Key’ (such as F2, F9, F10, F12, depending on the system manufacturer) to access the Boot menu.
- Step 2: From the Boot Menu, select the BitRaser USB drive (UEFI-PNY DULEY OTG) and press ‘enter’ (See Image 3).

Image 3: HP Boot Menu
The device will boot with BitRaser, and you will see your internal SED listed on the BitRaser main screen. The application will display the connected drive as SED under the ‘Attribute’ section (See Image 4).

Image 4: Main Interface - BitRaser Drive Eraser & Diagnostics
- Step 5: Click ‘Erase’ to begin the SED wiping process (See Image 8).

Image 8: Begin Erasure
Once you click erase, you will be prompted to enter the ‘Disk Key’ or the ‘PSID’ under the ‘Key/PSID’ section. Enter your SED key or PSID, and click ‘Save’ (See Image 9).

Image 9: Enter Disk Key/PSID
An alert window pops up stating, “Are you sure you want to start the erasure process?” then, click ‘Yes’ to proceed (See Image 10).

Image 10: Erasure Confirmation Window
The software will start erasing your self-encrypting drive (See Image 11).

Image 11: SED Erasure Started
The software has completed the SED Drive Erasure Process (See Image 12)

Image 12: SED Erasure Completed
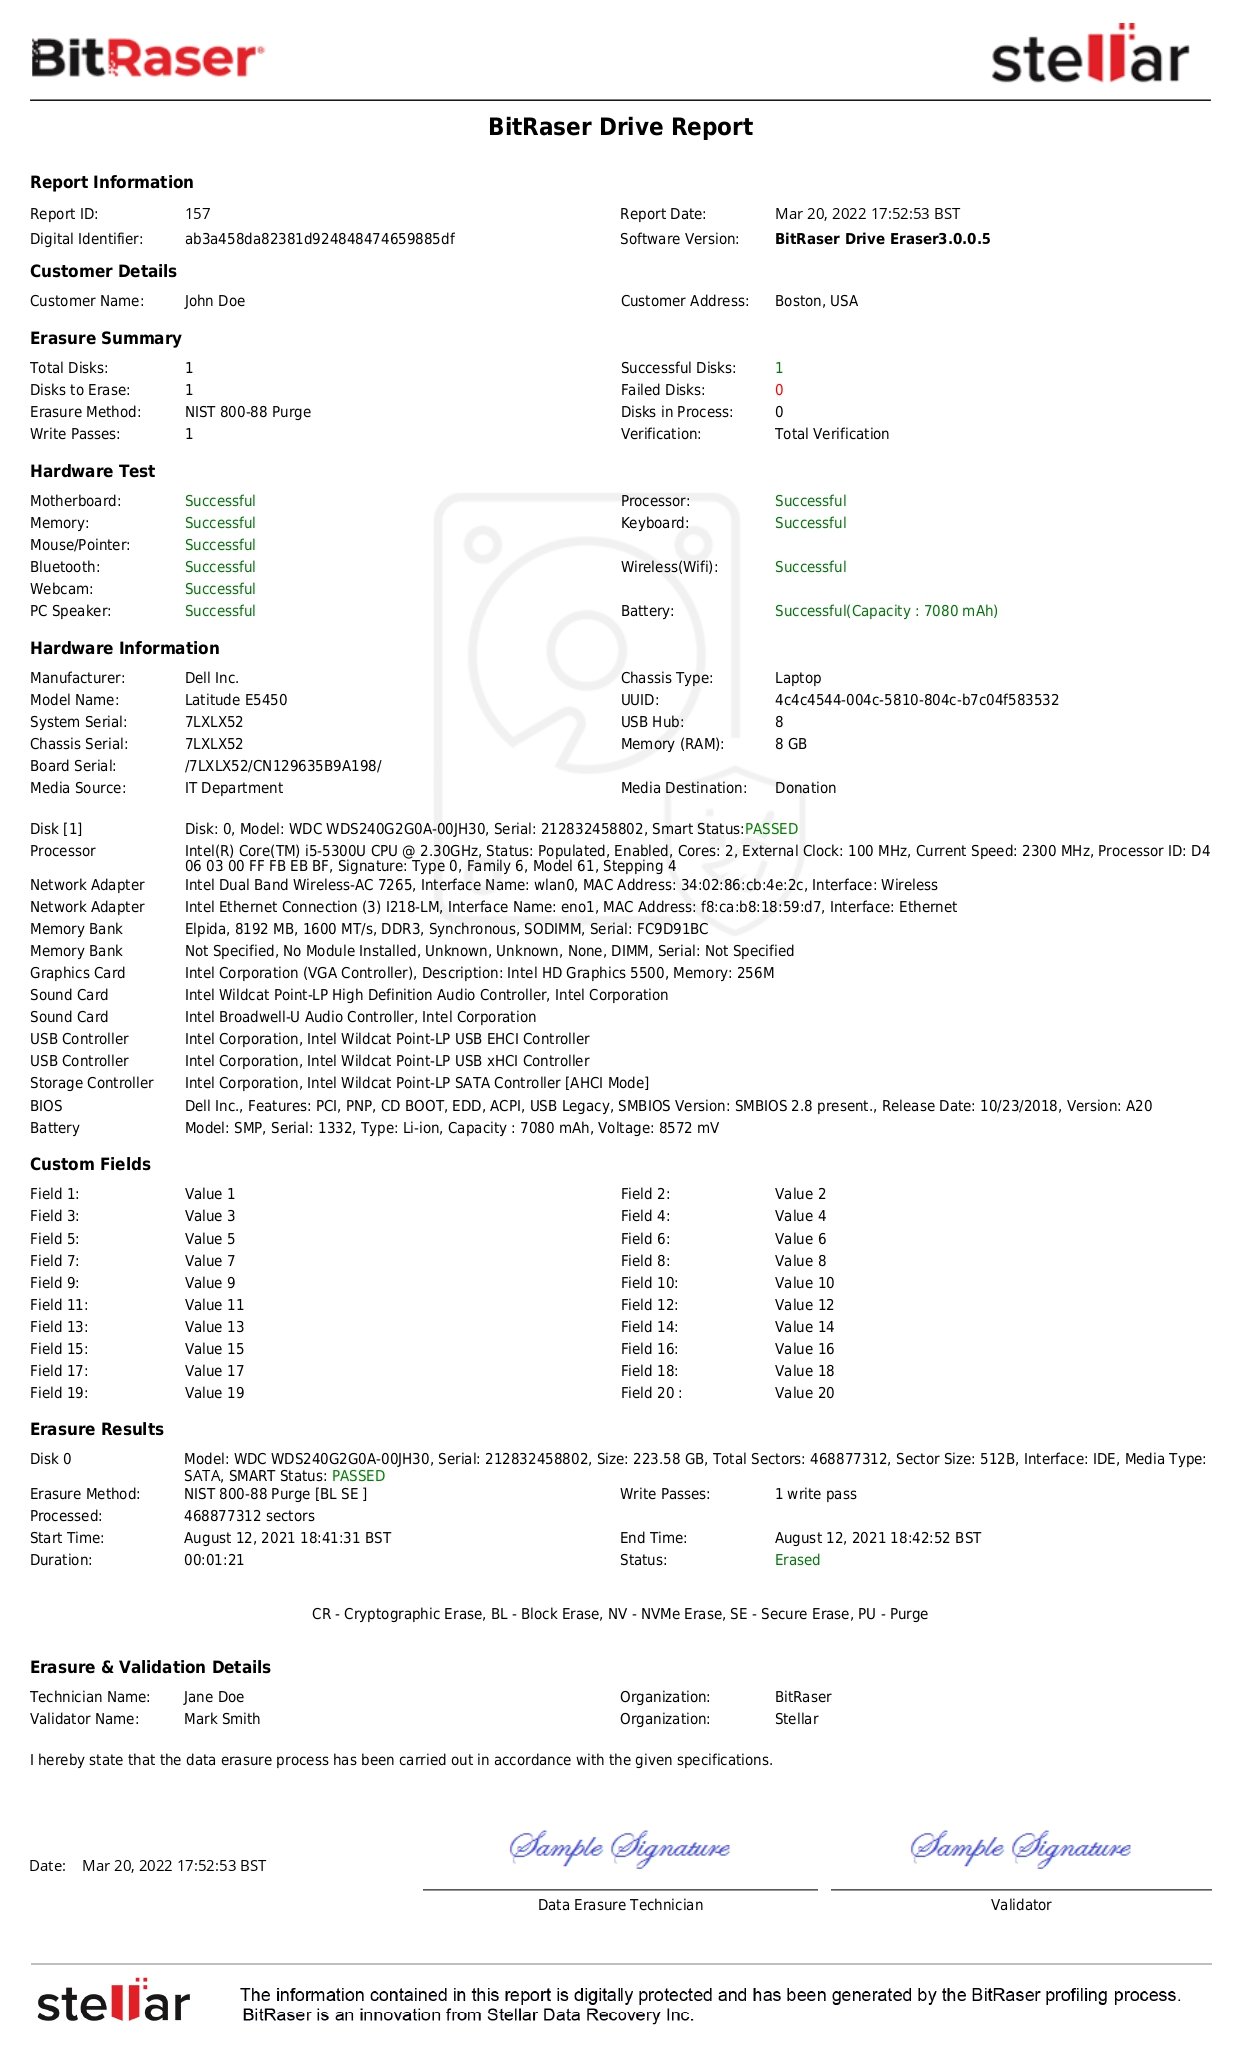
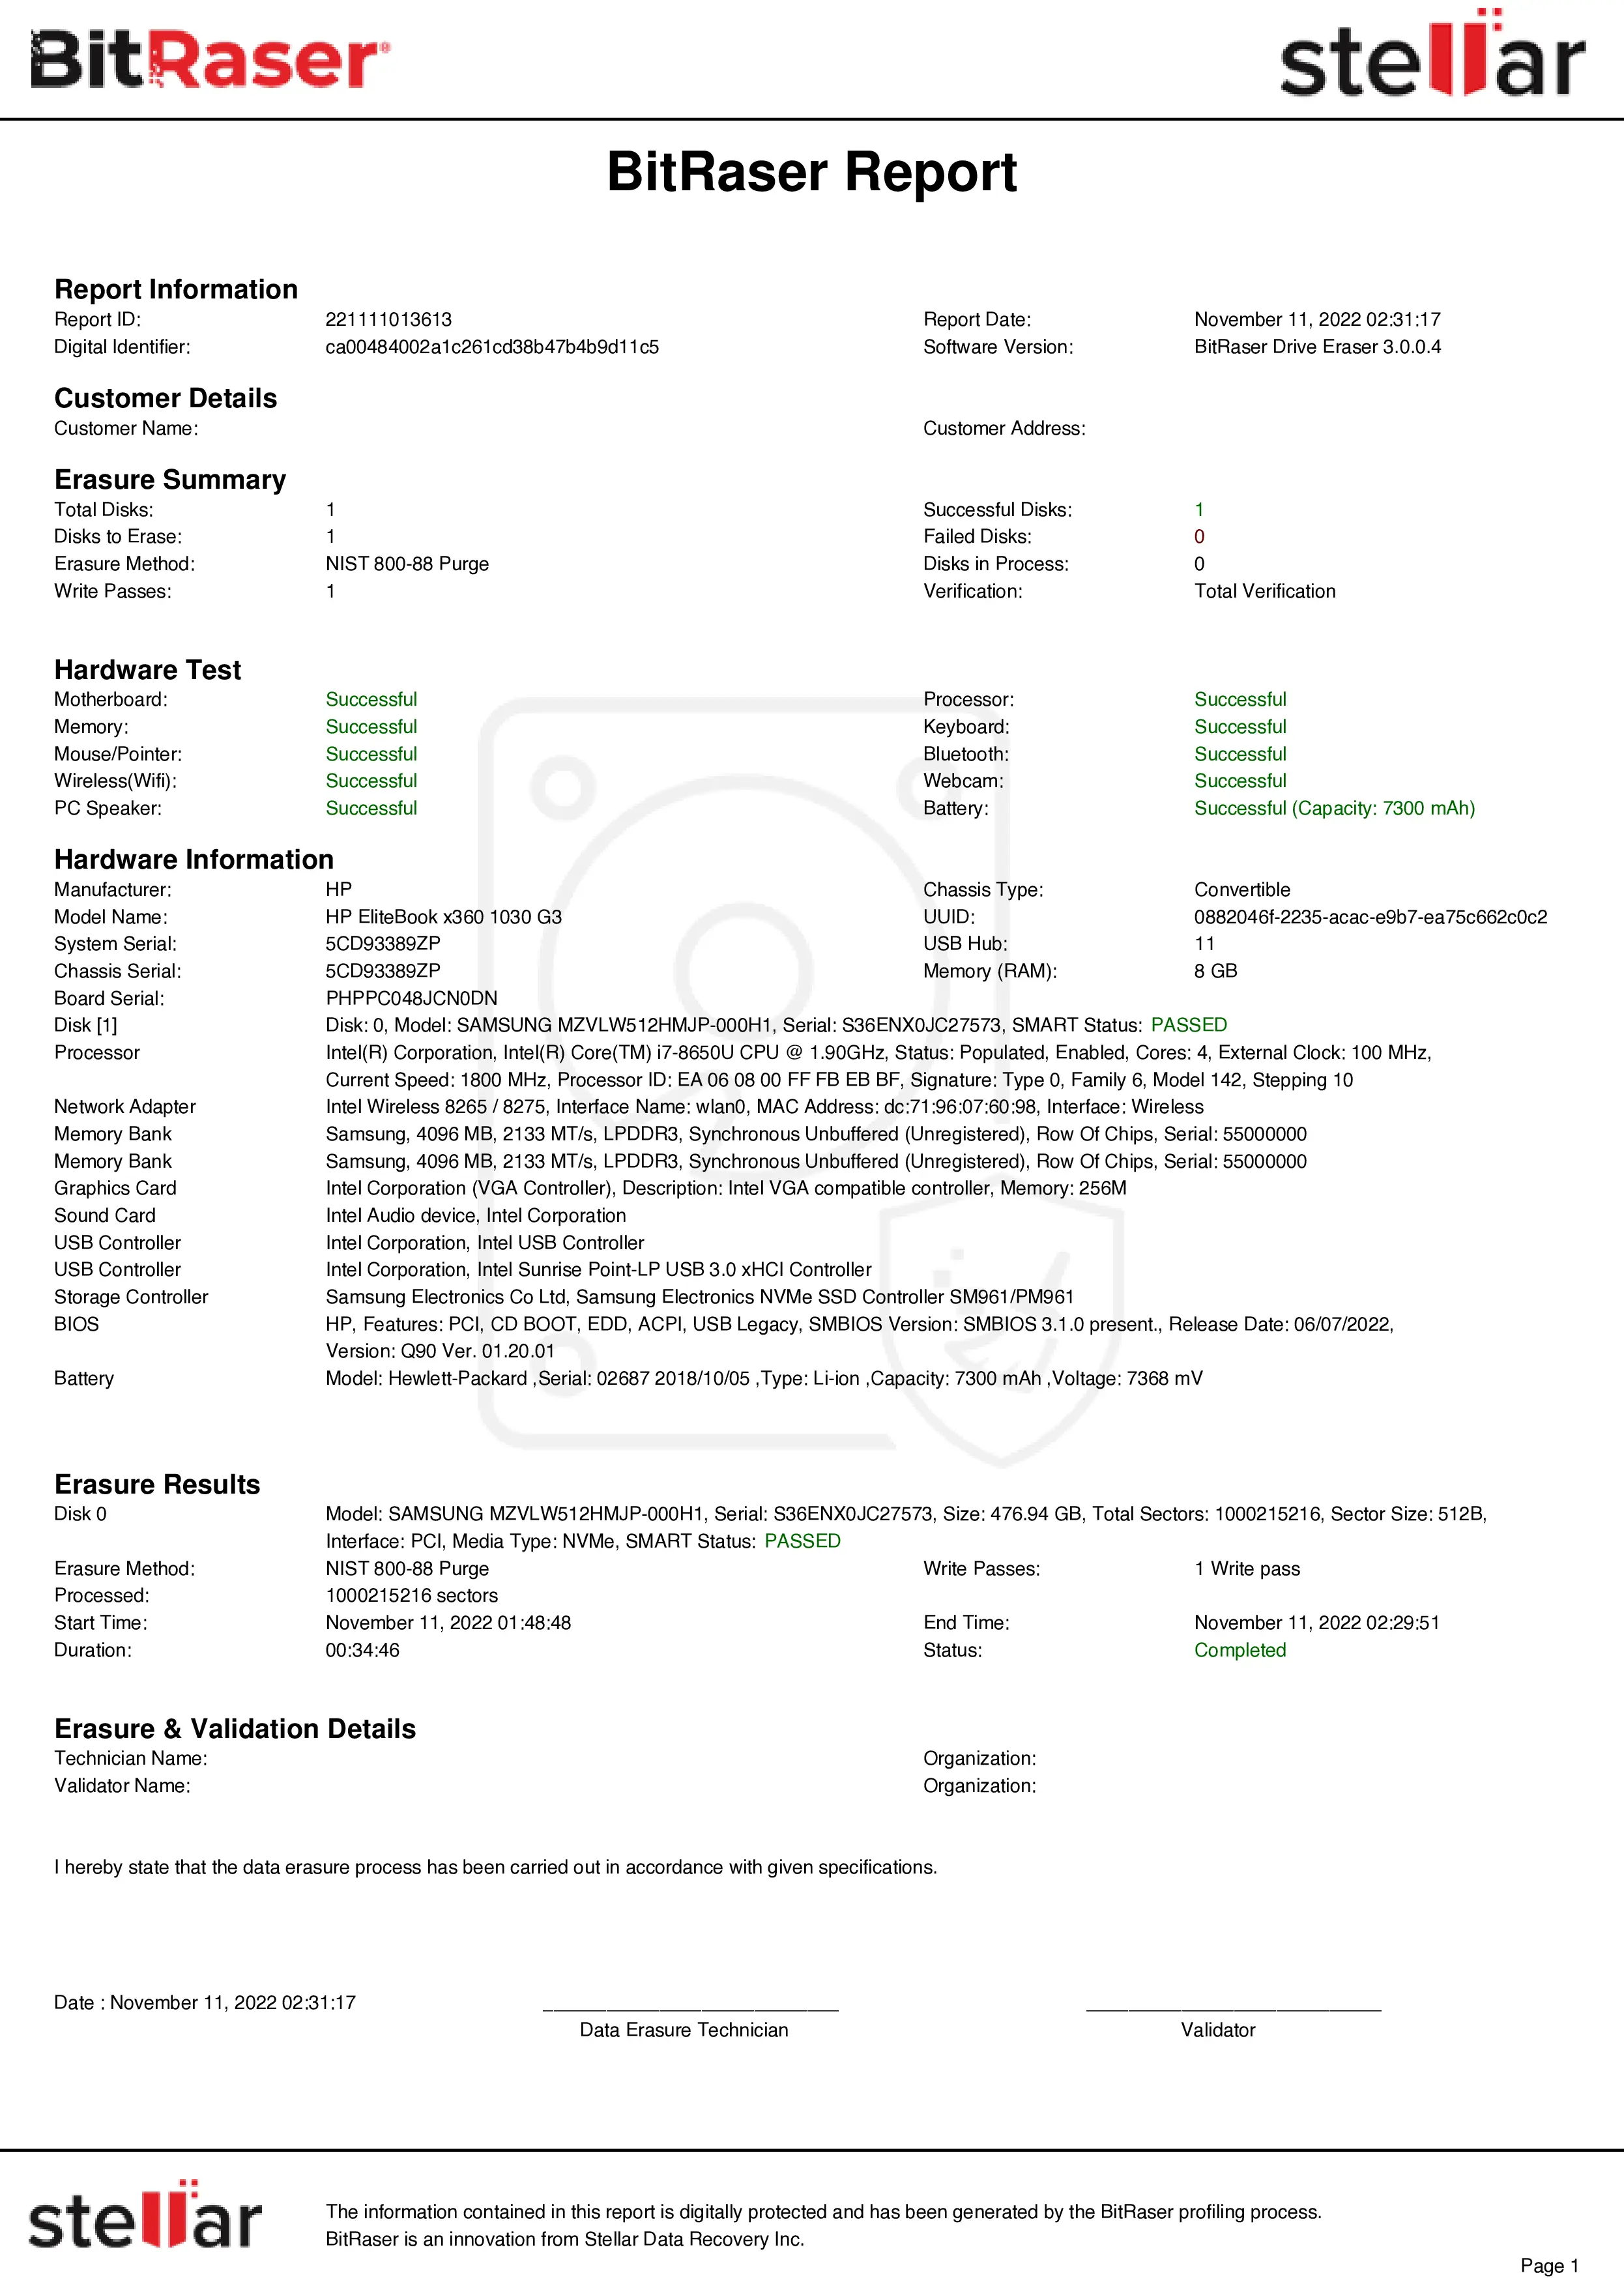
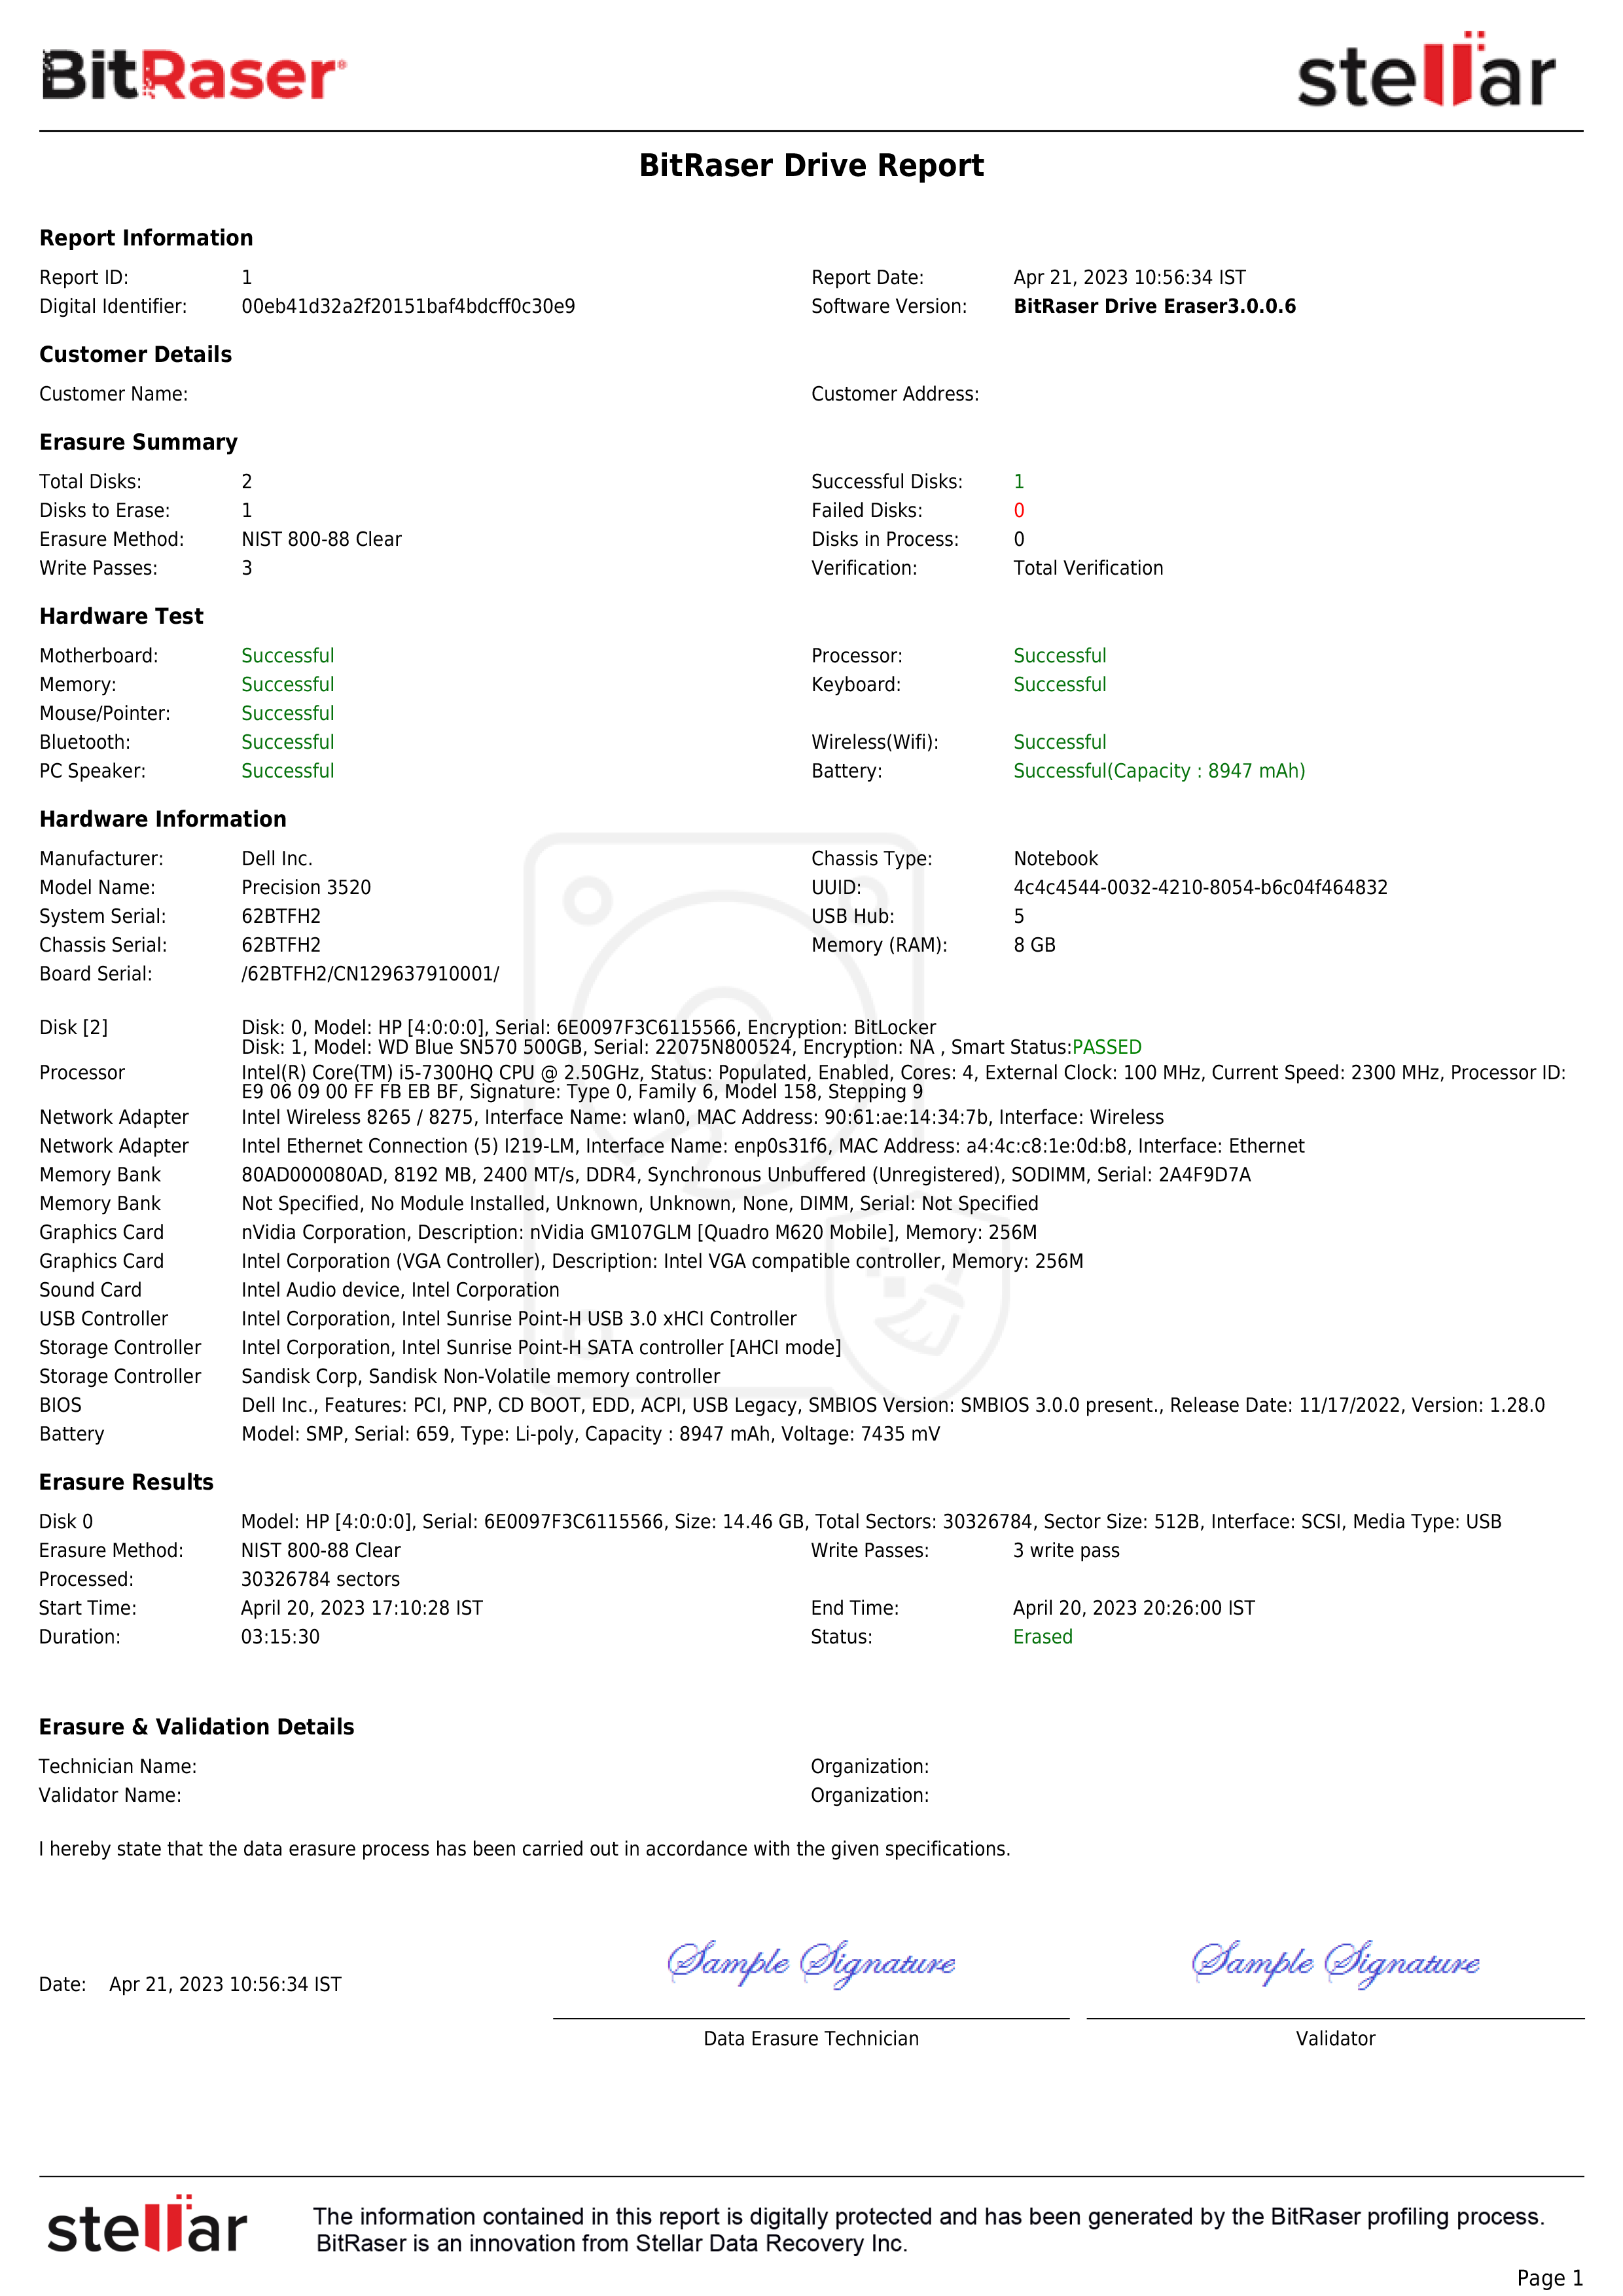
You can view and download the SED erasure report from your BitRaser Cloud account from any internet-enabled location globally (See the Report).

Report: BitRaser Drive Eraser & Diagnostics SED Erasure Report
Optional - Perform Hardware Diagnostics
BitRaser Drive Eraser includes a built-in ‘Hardware Diagnostics’ feature that helps you check the health and performance of your device's hardware components. It can run automated and manual tests on components such as the CPU, memory, storage drive, battery, GPU, Ethernet adapter, CMOS, and peripherals like the keyboard, mouse, and microphone.
Note: By default, the application is configured to perform only data erasure. You can customize it to perform both erasure and diagnostics either by using the ISO Customization feature in BitRaser Cloud or by changing the settings within the software (See Image 13).

Image 13: Default Process Settings
Let us see the steps to perform Hardware Diagnostics:
- Step 1: Click on the ‘Component Test’ tab. It will display the main interface of the diagnostic module (See Image 14).

Image 14: Hardware Diagnostics Main UI
- Step 2: Click ‘Start’ to begin the diagnostics process. The software will perform the ‘Auto-Tests’ in the background, and prompt you to begin the ‘Manual Tests’.
Follow the on-screen instructions to perform each manual test. After completing a test, click Next and confirm whether the hardware component is functioning properly by selecting Yes or No. Repeat this process for all remaining manual tests.
Once testing is complete, BitRaser generates digitally signed hardware diagnostics reports that can be saved in PDF, CSV, or XML formats. You have the provision to download the 'Long' or 'Short' Report as per your business requirements. This includes a full test summary, device information, and component-level results.