MacBooks come with limited internal storage capacity due to which businesses rely on external Macintosh hard drives which must be erased securely when the data has served its purpose or the drive is no longer in use. Businesses can leverage the data erasure capability of BitRaser Drive Erasure for Mac to erase an internal Macintosh hard drive permanently. It erases Mac devices with Intel processors as well as those with Apple Silicon M4, M3, M2, M1, and T2 chips.
This KB will guide you on how to erase a hard drive Mac permanently using BitRaser Drive Eraser software.
Stage 1: The first stage would be to download the BitRaser Drive Eraser ISO file. Use the credentials received in the mail to log in to your BitRaser Cloud Console account. For detailed instructions, refer to the ‘Downloading the BitRaser ISO File’ section of the knowledge base article.
Stage 2: Next, you need a bootable USB. Use Rufus, a free open-source software, to make a BitRaser bootable USB. Click on How to Create a Bootable USB with Rufus to get guidance on the same.
Stage 3: The last and most significant stage – to erase the Mac HDD – will begin now.
- Step 6: Click on the settings icon on the top right. Click on the ‘Network’ tab on the pop-up window. Based on your preferred mode of network connection, select either ‘Ethernet’ or ‘Wireless’ to connect to the internet.
A stable internet connection helps the BitRaser application connect with the BitRaser server to fetch erasure licenses and sync reports & certificates of erasure, which can be accessed and downloaded after the erasure process is complete. To establish a wireless connection, enter the SSID name and password when prompted. (Refer to Images 2 and 3)
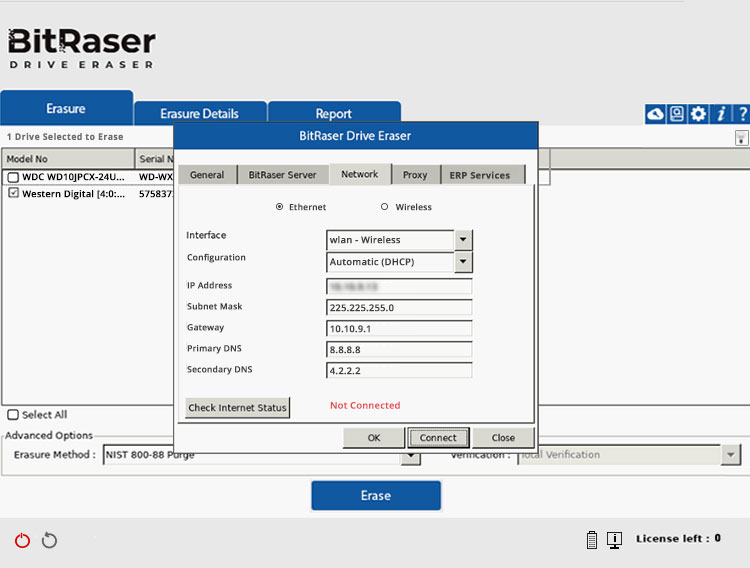
Image 2: Click on ‘Network’
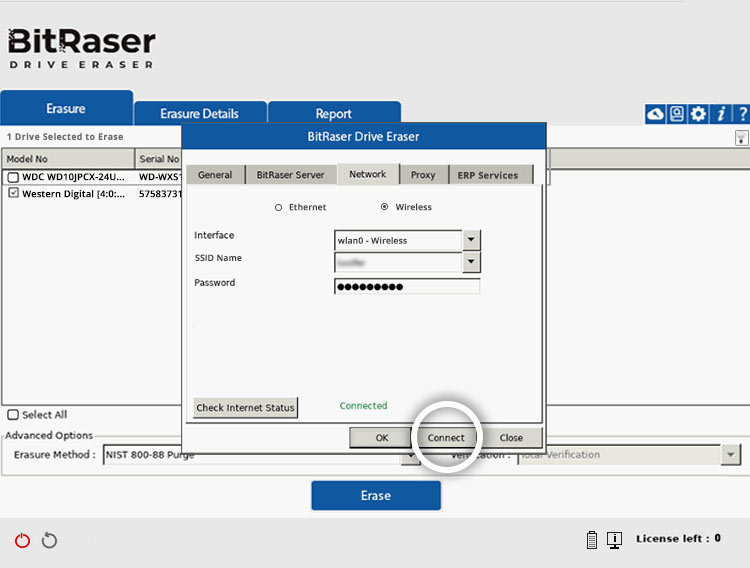
Image 3: Click on ‘Connect’ to Enable Network Connection
- Step 7: Next, click on ‘BitRaser Server.’ In the text fields in front of User Name and Password, enter your BitRaser Cloud Console account credentials to connect to the BitRaser server. (Refer to Images 4 and 5)
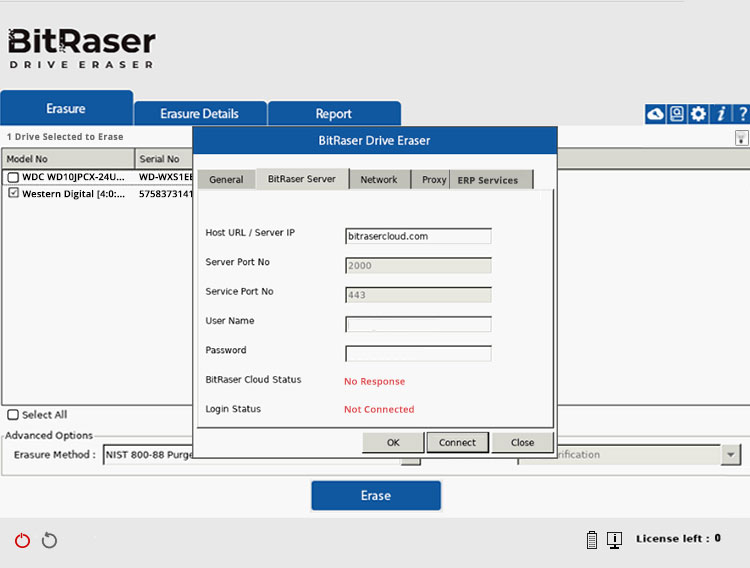
Image 4: Click on ‘BitRaser Server’
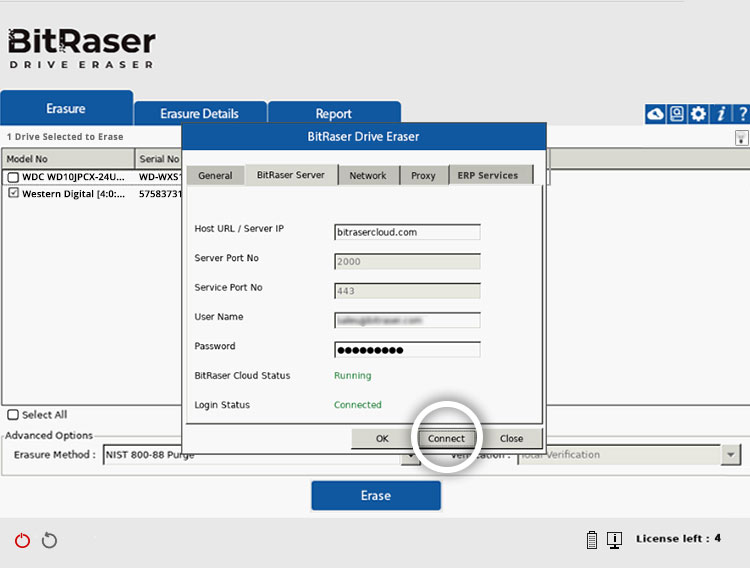
Image 5: Click on ‘Connect’ to Establish a Connection with BitRaser Server
Upon successful connection to the BitRaser Server, the login status will show ‘Connected’ in green.
- Step 8: Select the Erasure Method of your choice from the drop-down list. Click on Erase to proceed with the erasure process to erase Mac hard drive with BitRaser. Click on Yes on the pop-up window that asks for confirmation. (Refer to Images 6 and 7)
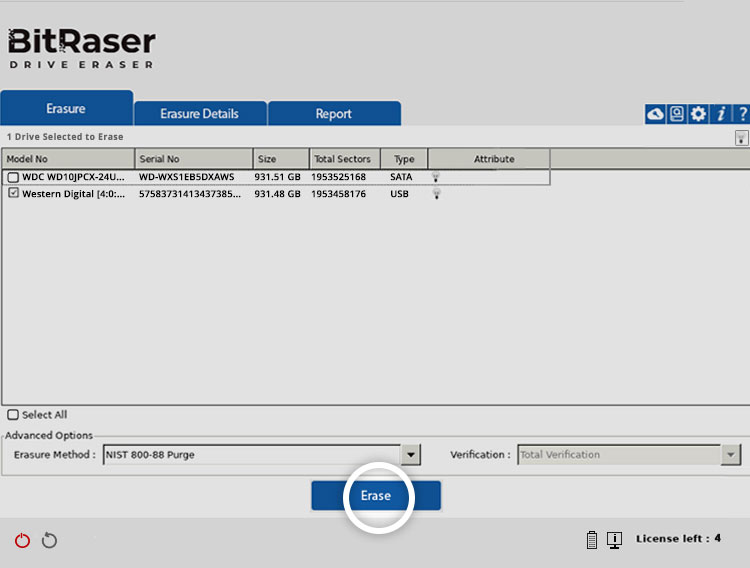
Image 6: Click on ‘Erase’
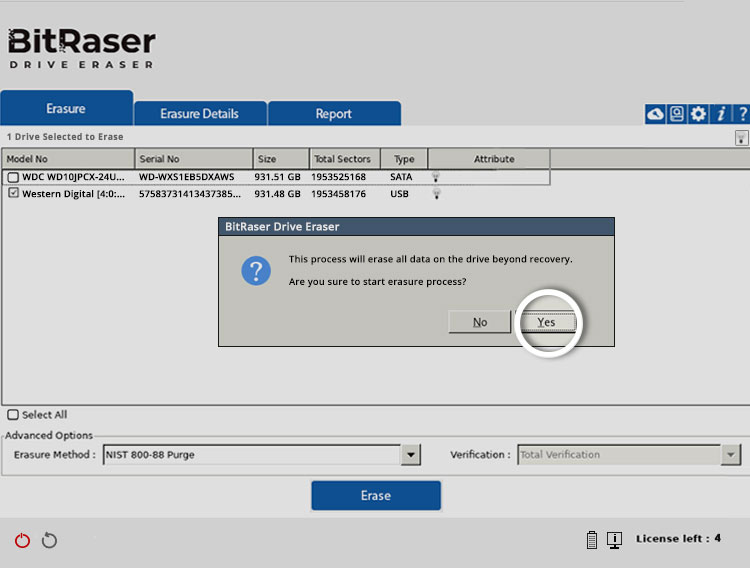
Image 7: Click on ‘Yes’ to Proceed With the Erasure of the Macintosh Hard Drive
Now, the erasure process to wipe Mac hard drive starts. You can view the progress of the erasure displayed as a percentage on the screen. When the process to erase Mac hard drive completes, you can access the detailed erasure reports and certificate of destruction, which can be saved in PDF, CSV, XML formats. (Refer to Images 8 and 9)
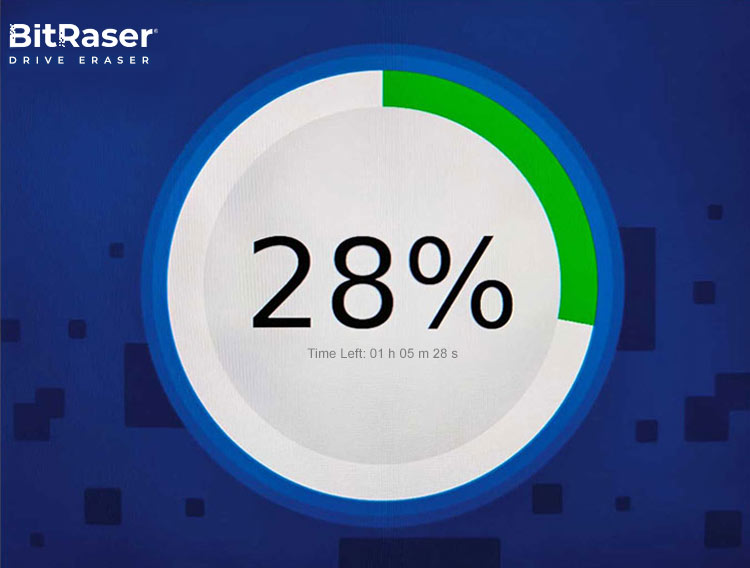
Image 8: Mac Hard Drive Erasure in Process

Image 9: Erasure of Macintosh Hard Drive is Complete


