For those using Cryptographic Erase (CE) for the first time, it is a media sanitization technique used on supported self-encrypting drives (SEDs). The process renders encrypted data inaccessible by securely removing or replacing the encryption key that protects it. It is important to note that CE availability depends on the drive hardware and firmware implementation.
Note: SSDs/SEDs can be found in both Windows systems and MacBooks. However, the steps for using BitRaser Drive Eraser on a Mac are different. To erase a Mac machine using CE, refer to the deployment guide on
How to Erase Mac?
Requirements
- A blank USB flash drive (minimum 2 GB capacity) to create bootable media
- Internet connectivity (Ethernet or Wi-Fi)
- Self-encrypting drive to be sanitized
The KB has been divided into three stages to make it easier to navigate.
Stage 1: Download BitRaser Drive Eraser & Diagnostics
Step 1: Log in to BitRaser Cloud Console using the credentials sent to you. Navigate to ‘Download BitRaser’ in the left-side menu and download the ISO file for Cloud Variant (See Image 1).

Image 1: Download BitRaser Section
Stage 2: Create a BitRaser Bootable USB
Step 1: Connect a blank USB drive to the system and download Rufus from https://rufus.ie/en/.
Step 2: Launch Rufus, select the USB drive, browse to the downloaded BitRaser ISO file, and create a bootable USB (See Image 2).

Image 2: Rufus Main UI
Once the process is complete, the bootable BitRaser USB media is ready for use.
Stage 3: Perform Cryptographic Erasure
Step 1: Connect the bootable USB to the system, and power it up. Access the boot menu by pressing the appropriate key (e.g., F12 on Dell). Select the BitRaser USB and press ‘Enter’ to boot the system with BitRaser (See Image 3).

Image 3: HP Boot Menu
Step 2: The main UI of BitRaser shows up with all your drives listed (See Image 4). Select your drive to erase.

Image 4: BitRaser Drive Eraser & Diagnostics UI
Now, go to ‘Settings’ and click on the ‘Network’ tab. Connect the application to the internet using either Ethernet or a wireless connection (See Image 5).

Image 5: Settings – Network Tab
Step
3: Click on the ‘Server’
tab to connect the application with BitRaser Cloud by entering your credentials
received after purchase.
This allows the application to get the licenses and save erasure reports to
your cloud account (See Image 6).

Image 6: Settings – Server Tab
Step 4: Choose the erasure method as per your data destruction policy. By default, NIST 800-88 Purge is chosen. You may note that the software supports 26 erasure methods like NIST 800-88 Clear and Purge and IEEE 2883 Clear and Purge (See Image 7).

Image 7: Supported Erasure Methods
Once selected, click on ‘Erase’ (See Image 8).
Note: Your available licenses are displayed in the bottom-right corner.

Image 8: BitRaser Drive Eraser & Diagnostics UI with Licenses
Step 5: An erasure confirmation window pops up. Click ‘Yes’ to begin the SSD cryptographic erasure process (See Image 9). ITADs can customize the ISO and remove this confirmation screen by selecting “Auto Erase” while customizing.
For detailed instructions, refer to the KB on How to Customize BitRaser.

Image 9: Erasure Confirmation Screen
Erasure progress can be seen on the software UI and BitRaser screensaver (See Image 10).

Image 10: Erasure Progress on Main UI
Once the erasure is complete, you will see a ‘Green Tick’ on your screen (See Image 11).

Image 11: Erasure Completion Screensaver
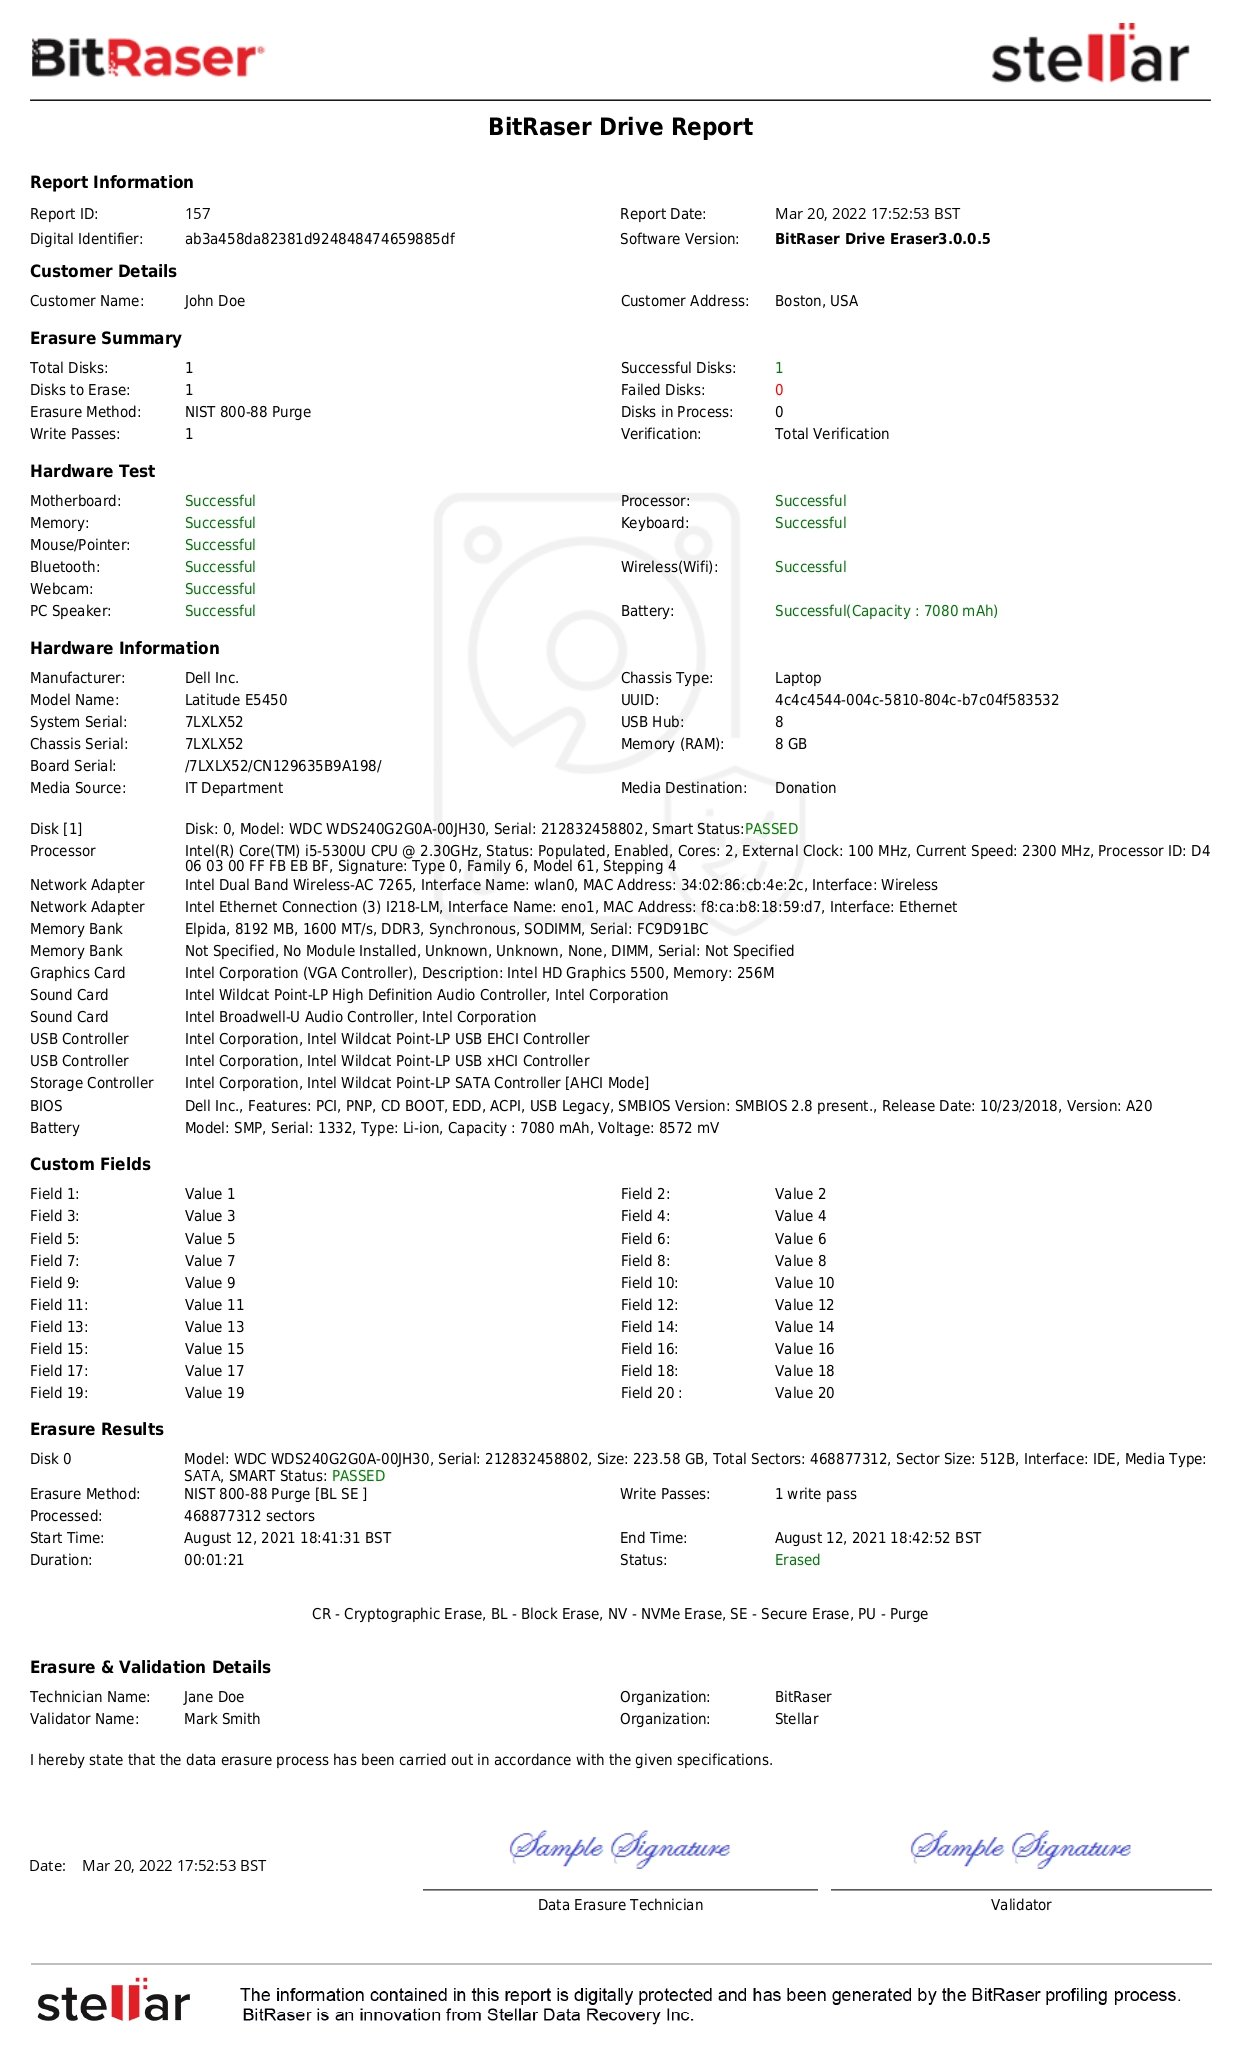
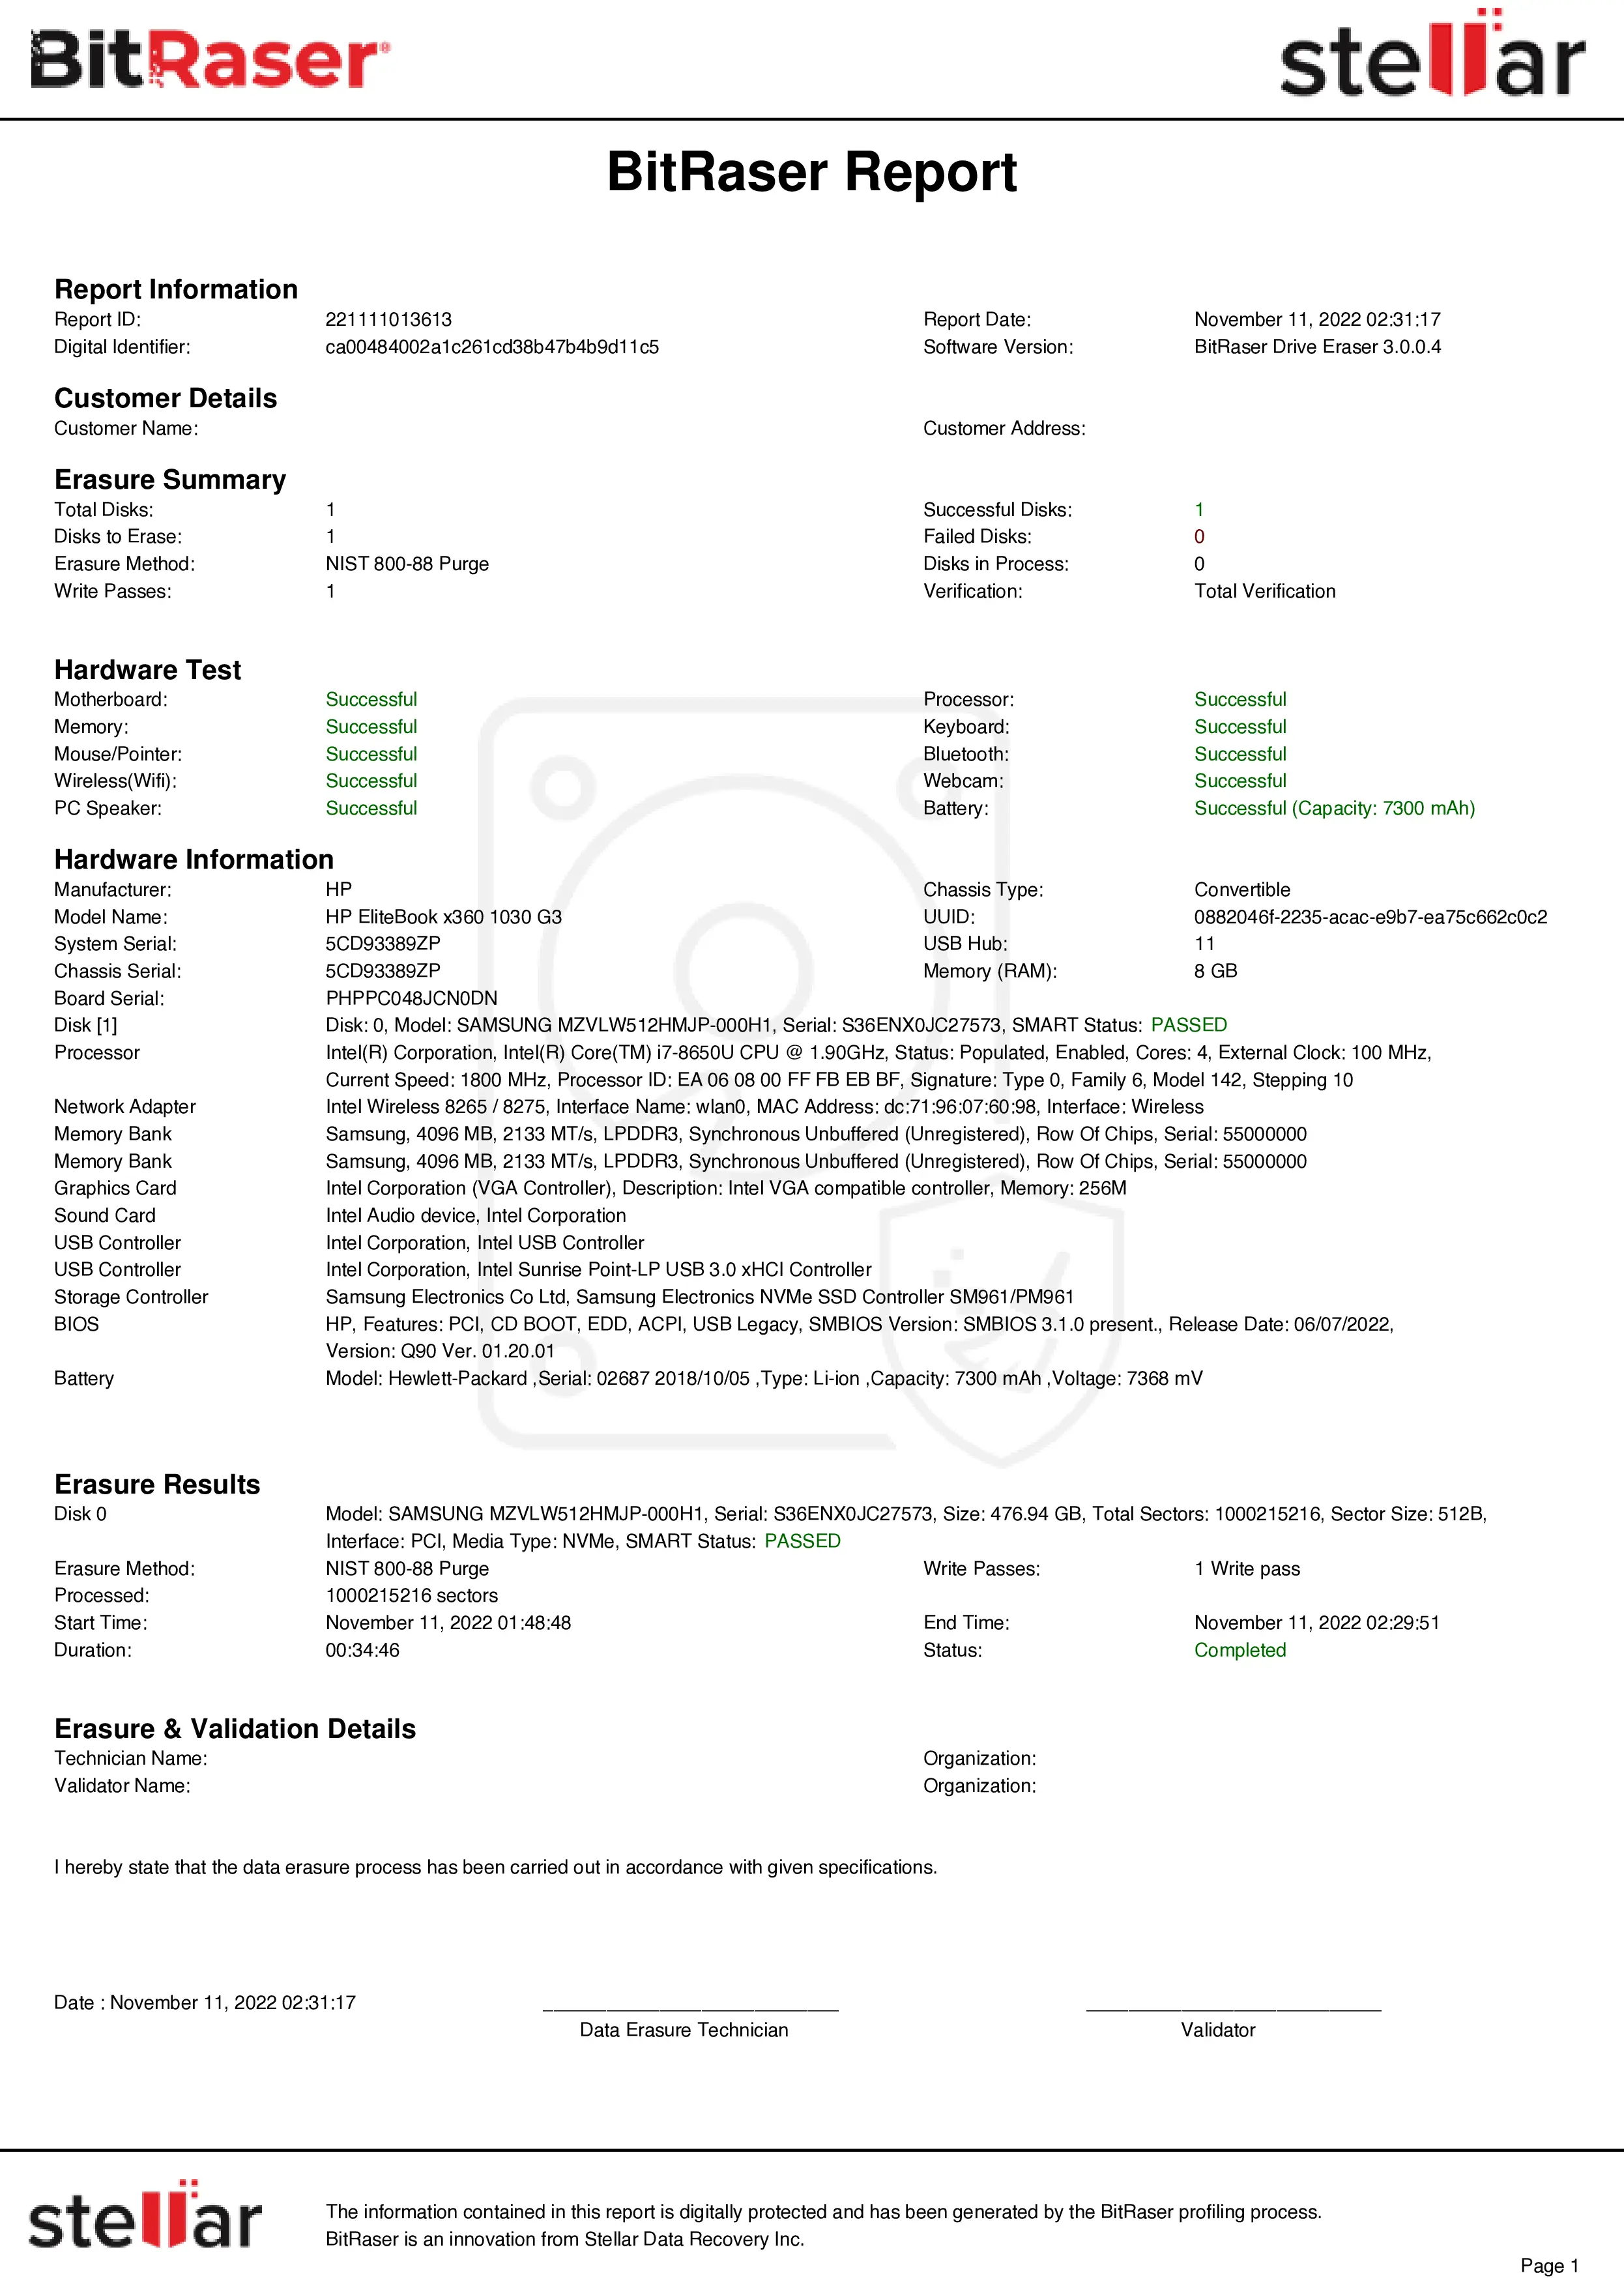
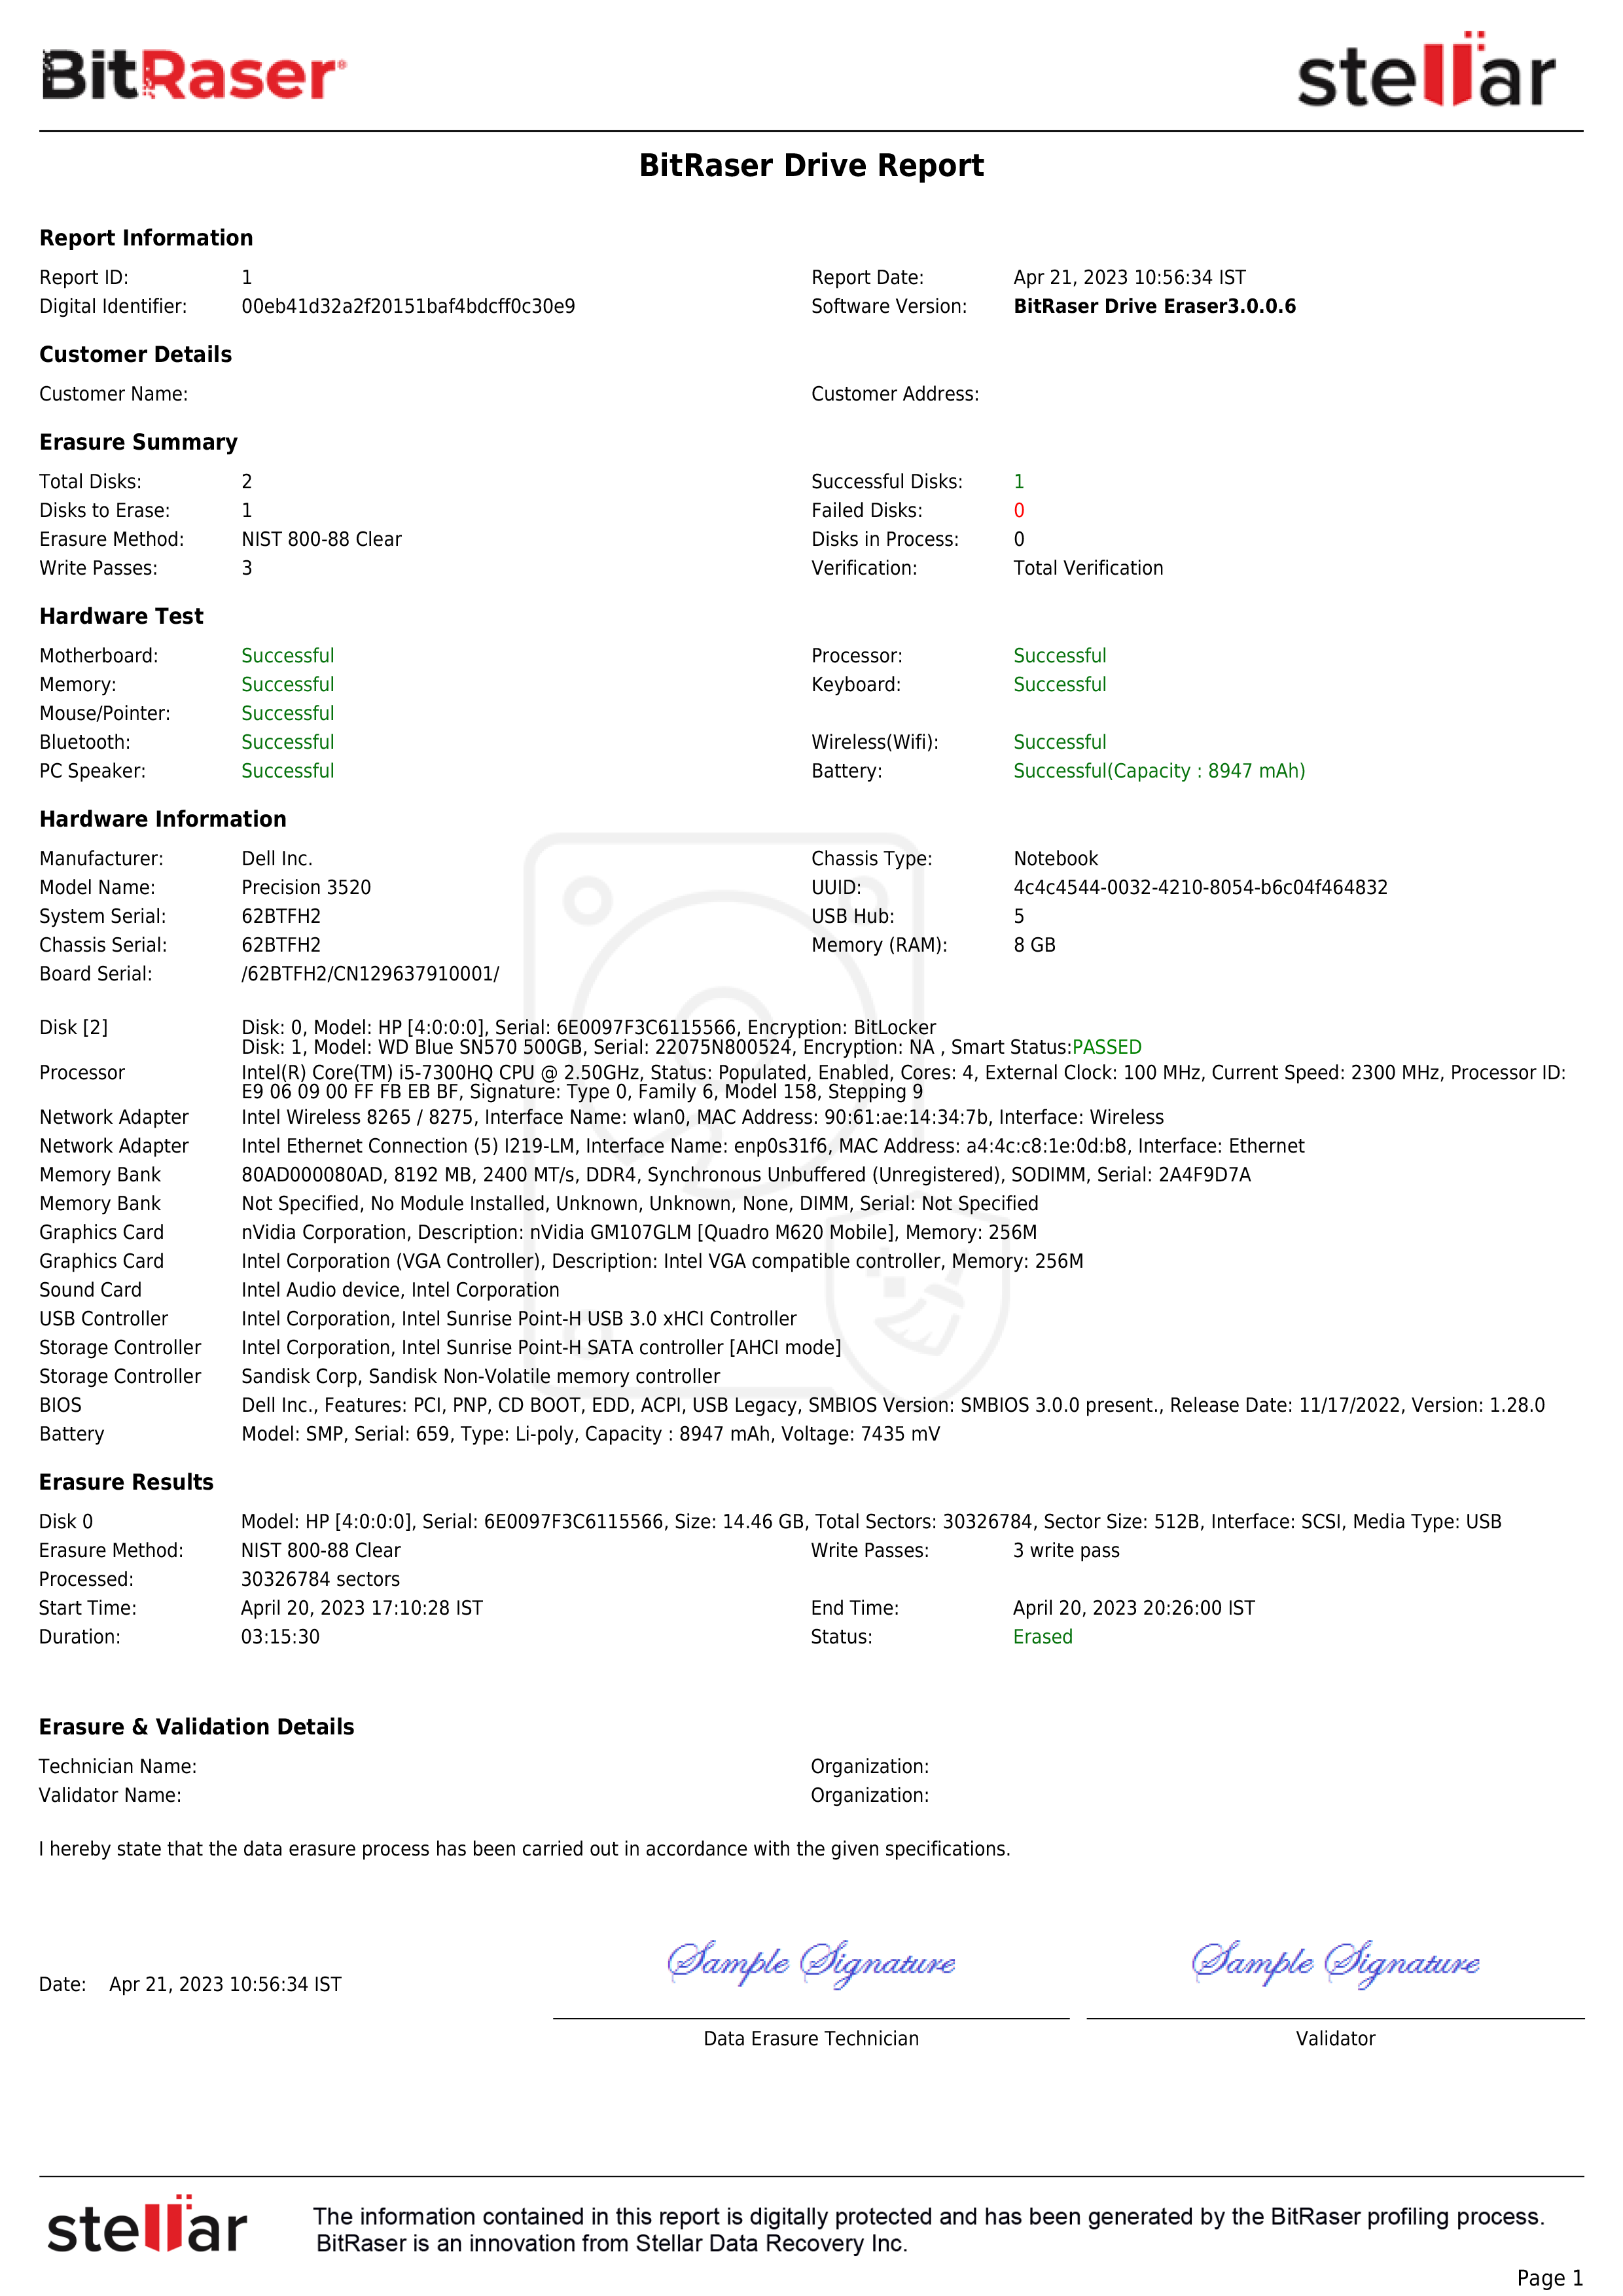
A tamper-proof erasure report is automatically saved to your BitRaser Cloud account.
Note: Add-ons like
Hardware Diagnostics and
Autopilot Detection work alongside BitRaser Drive Eraser & Diagnostics. Organizations and service providers that need to erase devices, perform hardware diagnostics, and verify Windows Autopilot status can contact their BitRaser sales representative for more information about these add-ons.