SAS or Serial Attached SCSI (SAS) is a communication interface or technology that facilitates data transfer between computer storage devices like hard drives and SSDs to the motherboard and vice versa. These drives use the Serially Attached Small Computer System Interface (SCSI) for data transfer. SAS drives are generally better than SATA drives due to their superior speed, large storage capacity, and better reliability. (Refer to Image 1)
These drives are predominantly used in servers or heavy computing applications that process huge workloads. Unlike SATA-based drives, SAS drives use a higher signal voltage to reliably transmit data and ensure end-to-end data integrity at a much faster speed. Commercial-grade servers, cloud service providers, and in-house servers use dual-port SAS drives and benefit significantly from their improved performance.
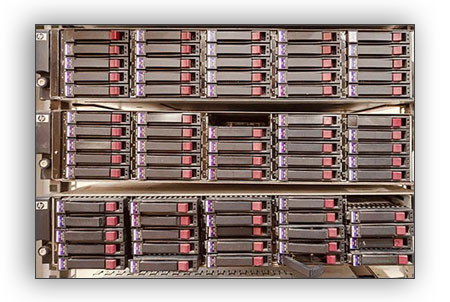
Image 1: SAS Drives Mounted on HP Server
When data centers get decommissioned or the IT assets reach their end-of-life, these server SAS drives must be sanitized before they are disposed of or resold.
BitRaser Drive Eraser is the best drive-wiping tool designed for wiping both server SAS drives and SAS SSDs. However, the process of wiping both SAS drives is the same.
We have divided this article into 2 sections to make it easier for you to navigate:
Stage 1: Download BitRaser ISO & Create a Bootable USB
Stage 2: Wipe SAS Drives Using BitRaser Drive Eraser
Key Requirements:
- SAS Drives to Wipe
- Server or Chassis
- USB flash drive: 2 GB or more (PXE Boot Solution also Available)
- Internet: Wi-Fi or Ethernet (Offline Variant also Available)
Once you are ready with these prerequisites, you can start making a Bootable BitRaser USB.
- Step 1: Using the login credentials received by mail after purchase of BitRaser, log in to your BitRaser Cloud Console and download the Cloud Variant ISO of BitRaser Drive Eraser. (Refer to Image 2)
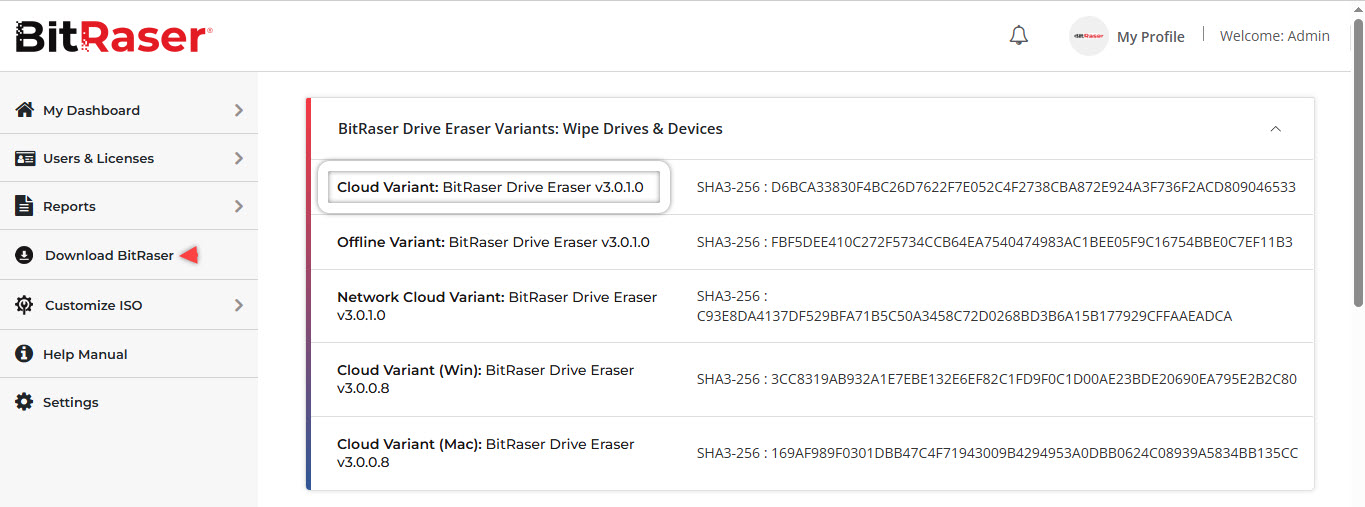
Image 2: Download BitRaser Cloud Variant ISO from BitRaser Cloud Console
- Step 2: Download Rufus (A Third-Party Bootable USB Creation Tool) and connect a USB drive to the server or chassis. Using Rufus, burn the BitRaser ISO file on the connected USB drive to make a BitRaser Bootable USB.
For instructions on creating a bootable USB using Rufus, refer to our KB article.
- Step 2: Connect the Server to the Internet by going to Settings > Network and entering your ‘Ethernet’ credentials. Internet connectivity is required to access erasure licenses and automatically upload erasure reports on the BitRaser server. (Refer to Image 5)
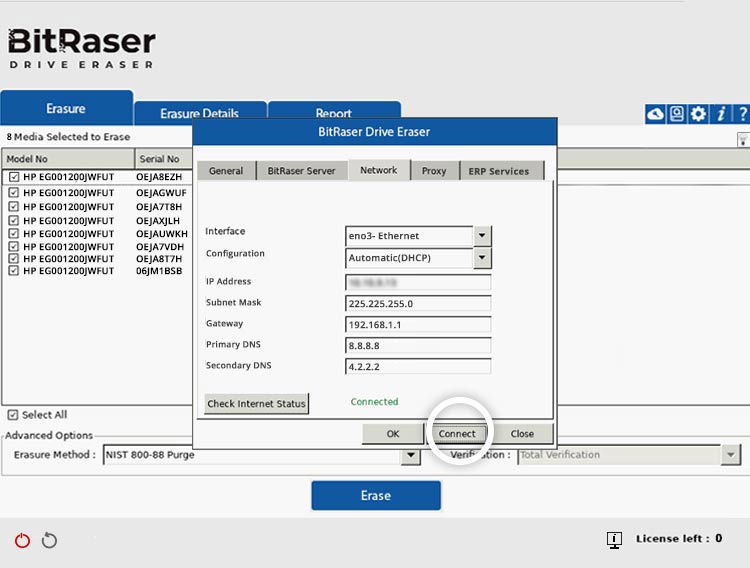
Image 5: Enter Ethernet Details to Connect BitRaser Application to the Internet
- Step 3: Now connect the BitRaser application to the BitRaser Cloud server by going to Settings > BitRaser Server and entering the login credentials you received in the mail. (Refer to Image 6)
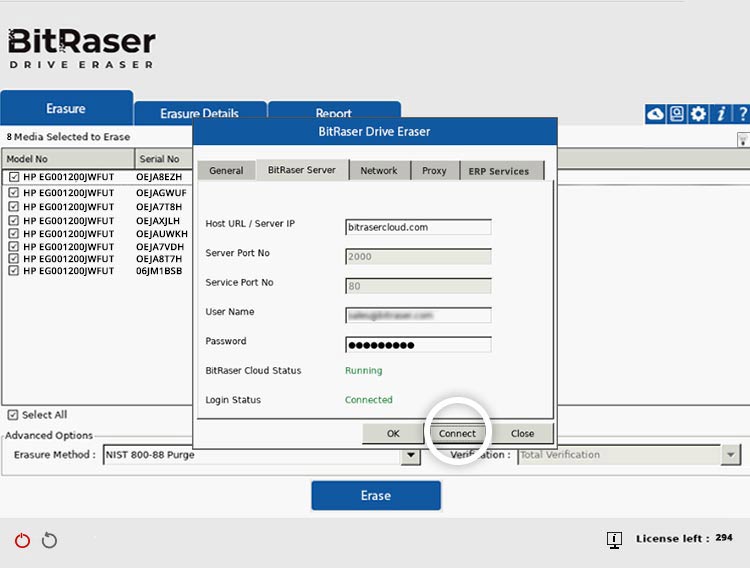
Image 6: Enter Cloud Credentials to Connect BitRaser Application with BitRaser Server
- Step 4: Select all the server SAS drives you wish to erase, choose the erasure method from the dropdown menu, and click ‘Erase.’ An alert window informs you that all data on selected drives will be permanently erased; click ‘Yes.’ (Refer to Image 7)
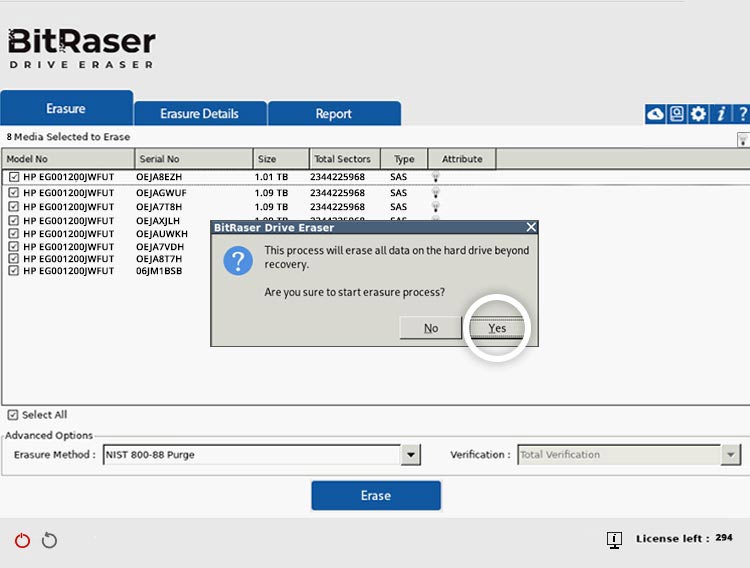
Image 7: Click Erase, then Click Yes in the Alert Window
You can see the Erasure progress of each drive on your screen. (Refer to Image 8)
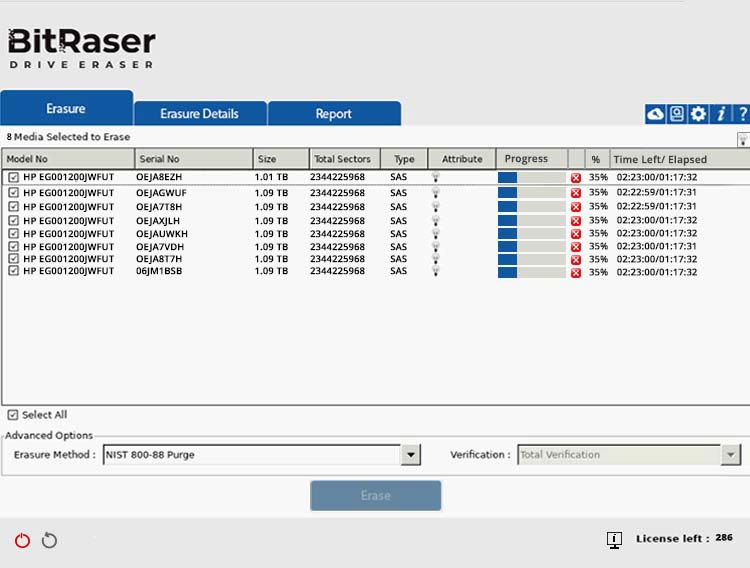
Image 8: SAS Drives Erasure Progress Screen
After the successful erasure of the server SAS drives, the software will generate digitally signed reports & certificates of erasure and save them automatically to your BitRaser Cloud account.


