This KB article provides instructions to detect Autopilot-enrolled devices while erasing drives using BitRaser Drive Eraser software.
BitRaser allows you to check the Autopilot enrollment status of devices during the data erasure process. This helps ITADs and Enterprises determine whether a device sent for data wiping is enrolled in Microsoft Autopilot and locked to an organization. The Autopilot Detection feature is integrated into BitRaser and works seamlessly using both USB and PXE boot deployment methods.
For both USB & PXE methods, two ISO files are required:
- Autopilot Detection ISO [Licenses have to be purchased separately]
- Drive Eraser ISO
PXE Boot Deployment: Recommended for Bulk Erasure Over a Network
Our Team will assist you in setting up and deploying BitRaser in the PXE environment based on network configuration and infrastructure. Both the Autopilot and Drive Eraser ISOs will be mounted on a shared directory (See Image 1)
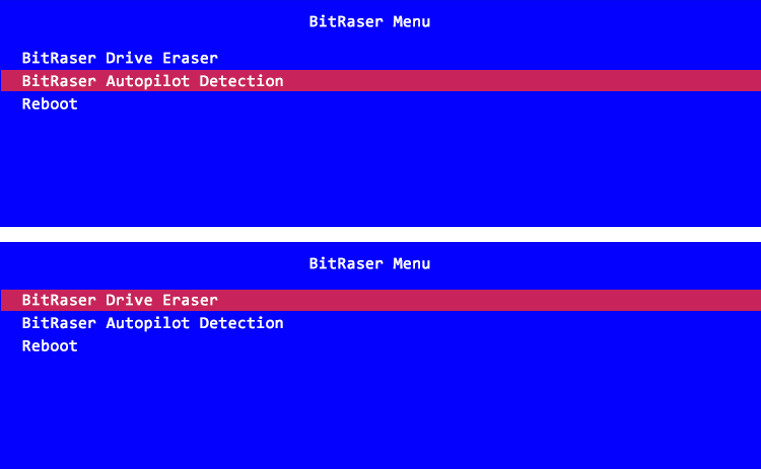
Image 1: PXE Boot Menu: BitRaser Autopilot Detection & Drive Eraser ISO
Laptops and PCs are configured to boot first with the Autopilot application, which automatically checks and captures the Autopilot lock status. Post detection, the system reboots and launches the Drive Eraser application. Follow the instructions given below from Step 2 onwards to complete the data erasure process.
USB Boot Deployment
To perform Autopilot detection using USBs, you must first download the Autopilot and Drive Eraser ISO files from the BitRaser Cloud server and create bootable USBs. For detailed steps on how to create a bootable USB, you may refer to our KB article.
Step 1: Boot the system with Autopilot USB:
- Insert the bootable USB with the Autopilot Detection application and boot the target system.
- You will see the BitRaser Autopilot Detection screen (See Image 2) that will detect the status of the Autopilot Enrollment.
- Once you see this screen, remove the Autopilot USB and insert the Drive Eraser USB into the same port.
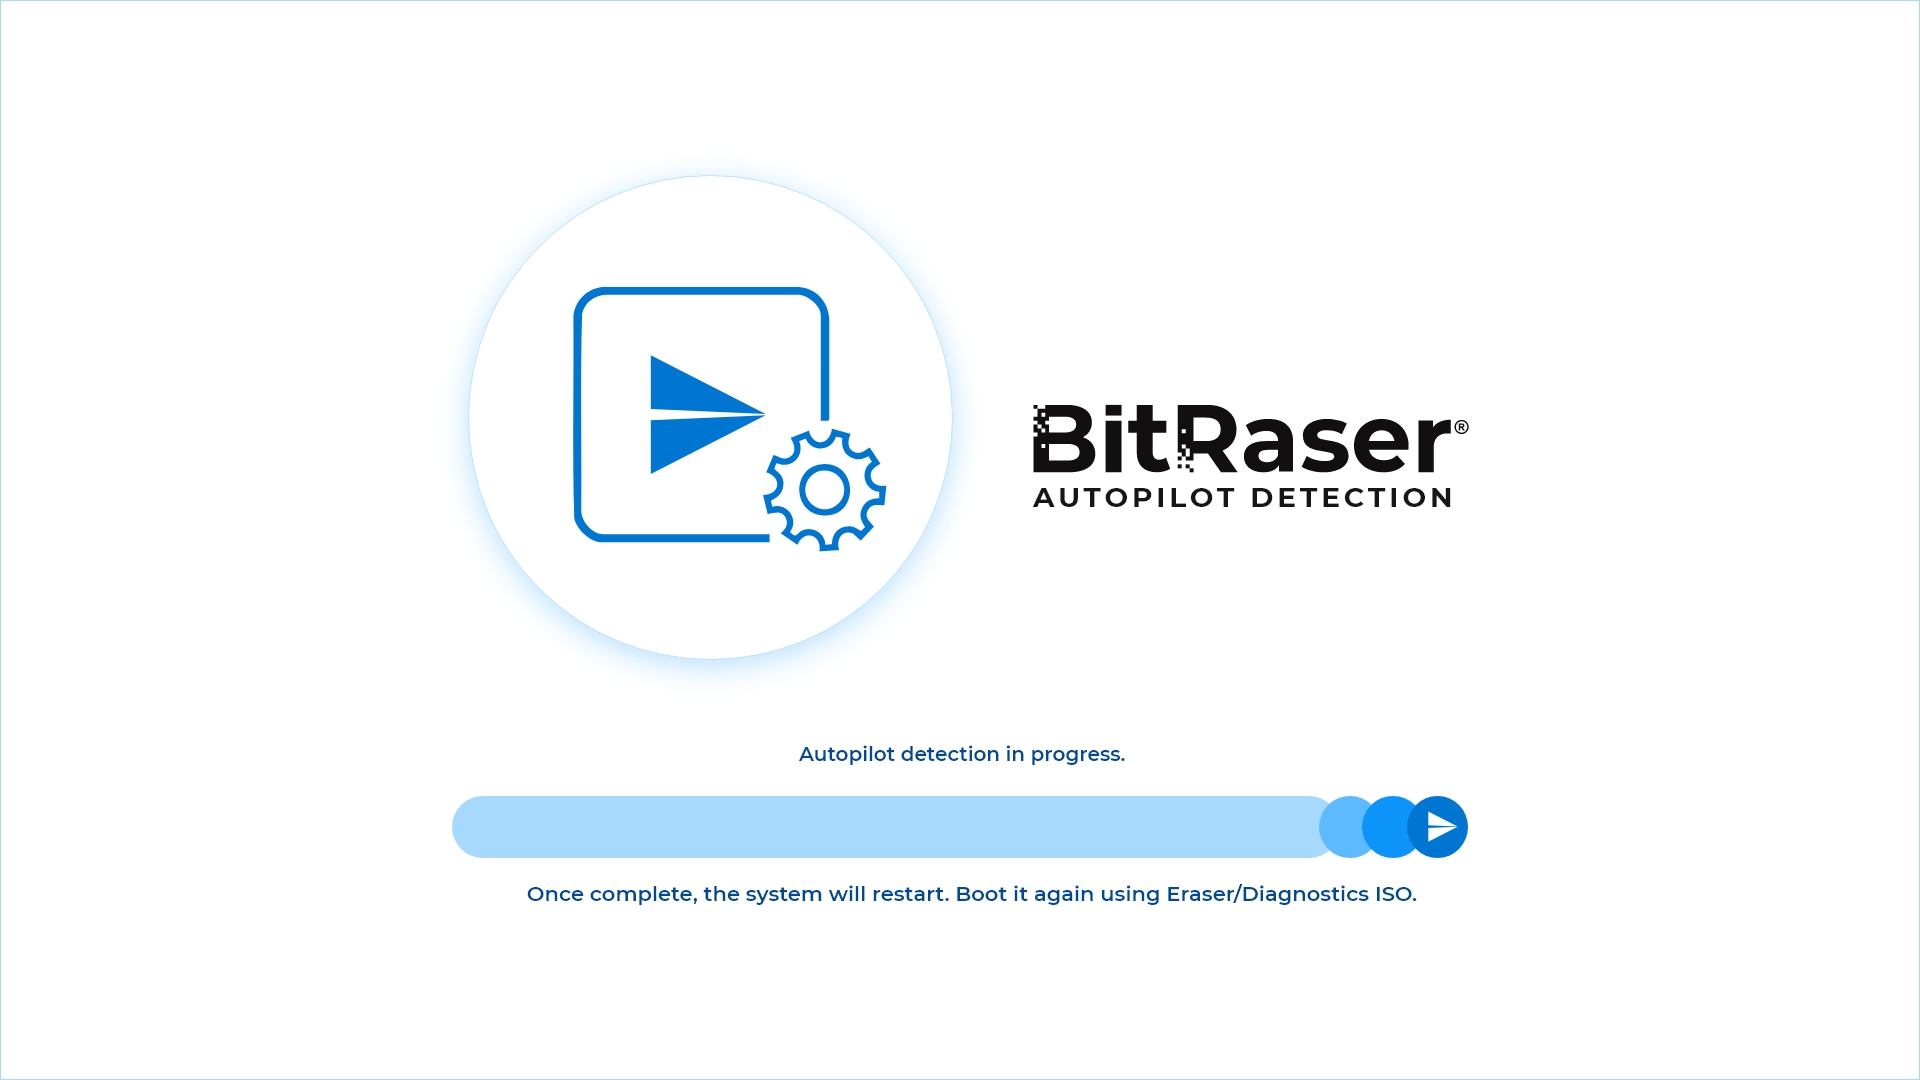
Image 2: BitRaser Autopilot Detection Screen
Step 2: Connect with the BitRaser server to fetch Autopilot and Erasure licenses:
- The system will restart and boot with the Drive Eraser.
- On the software’s main UI, go to Settings > Network on the top right corner (See Image 3), and connect the device to the internet via Wi-Fi or Ethernet.
- Once connected, open the ‘BitRaser Server’ tab and enter your cloud credentials, and click ‘Connect’. The Autopilot and erasure licenses will appear in the bottom-right corner of the UI (See Image 4).
Note: This step is not required for the ISO that has been pre-customized with network and server credentials, along with other settings. For details on How to Customize the BitRaser ISO File? read the KB.
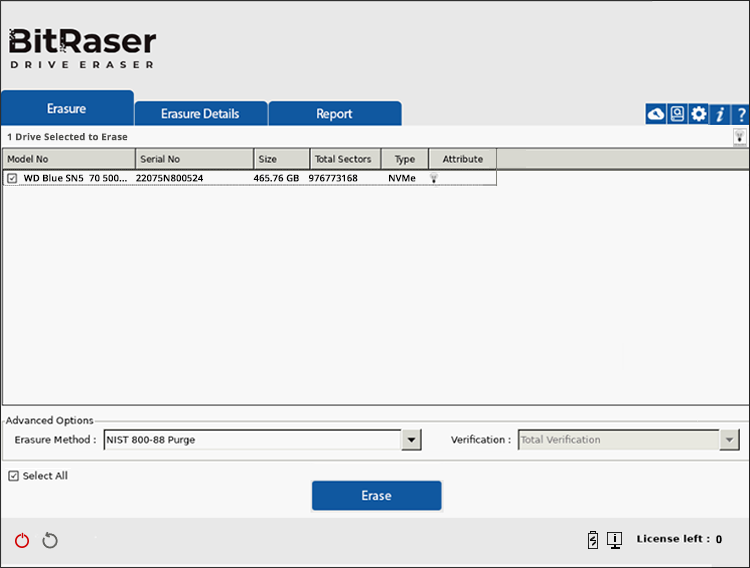
Image 3: BitRaser Drive Eraser Main UI
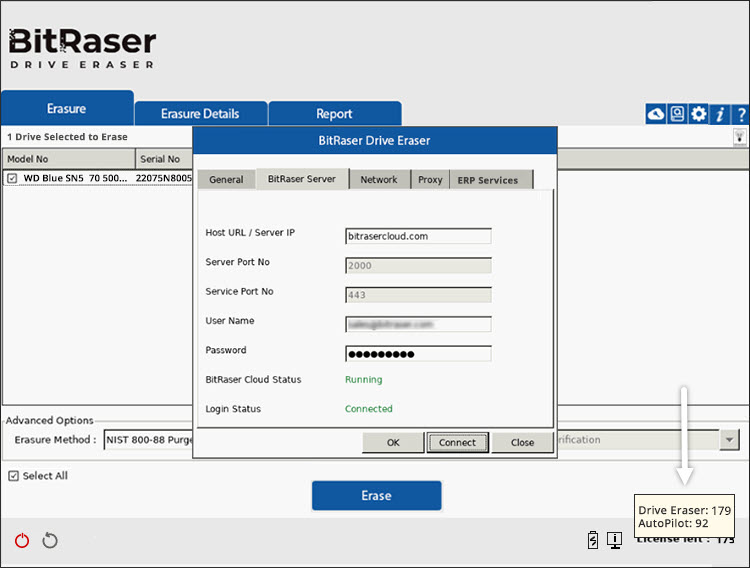
Image 4: BitRaser Server Tab Autopilot Licenses Added
Step 3: Start Erasure Process & View Autopilot Enrollment Status
- Select an ‘Erasure’ method from 26+ supported standards (e.g., IEEE 2883 Clear & Purge, NIST 800-88 Clear & Purge, US DoD 5220.22) and choose the ‘Verification’ type.
- Once selected, click on ‘Erase’ to begin the erasure process. The software will prepare the disk for erasure and start erasing (See Image 5).
- BitRaser will automatically fetch and display the Autopilot lock status (See Image 6). This status is shown in multiple locations for quick reference:
- The software UI clearly shows if the device is ‘Locked or Unlocked’ (See Image 7).
- The screensaver will display the status during and post erasure (See Image 8).
- The erasure report displays the status in the ‘Hardware Information’ (See Report).
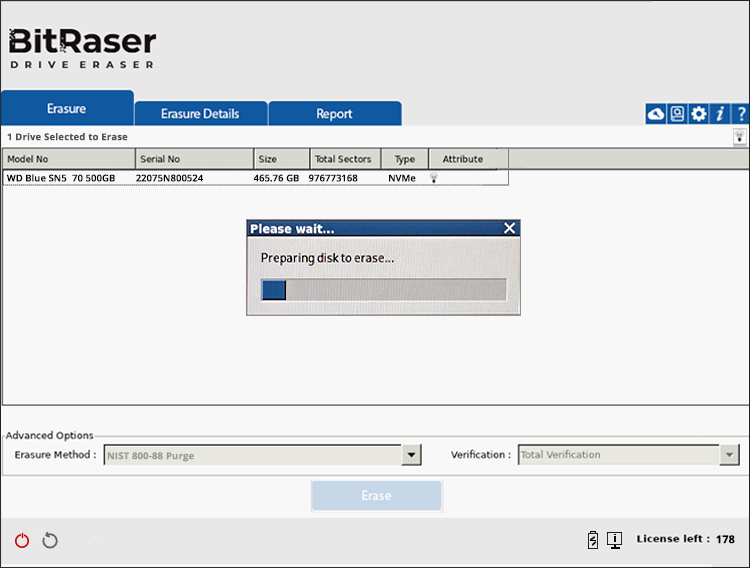
Image 5: Preparing Disk to Erase
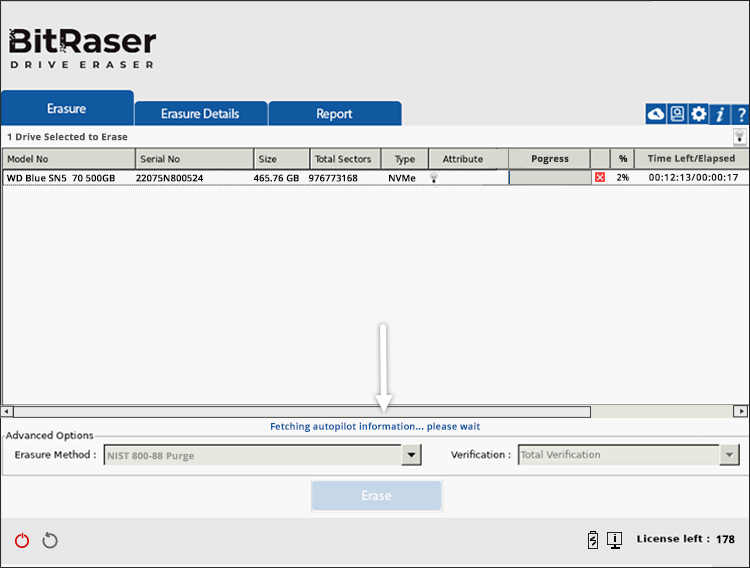
Image 6: Fetching Autopilot Information
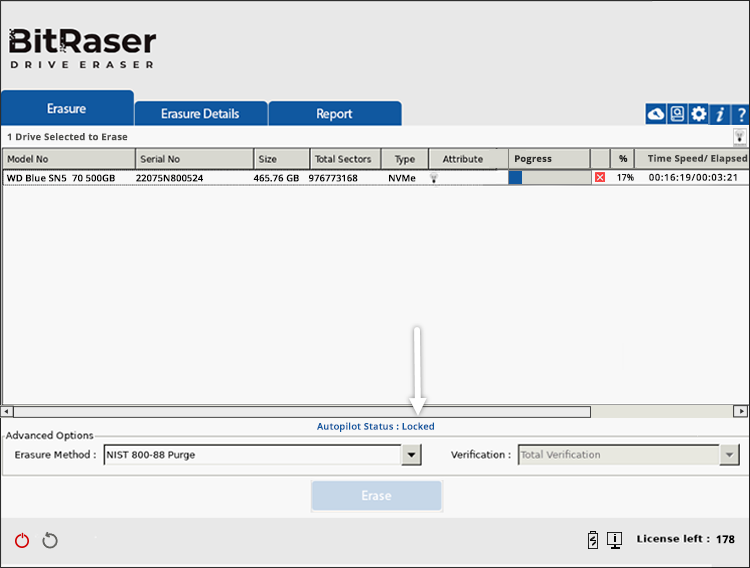
Image 7: Autopilot Status Locked
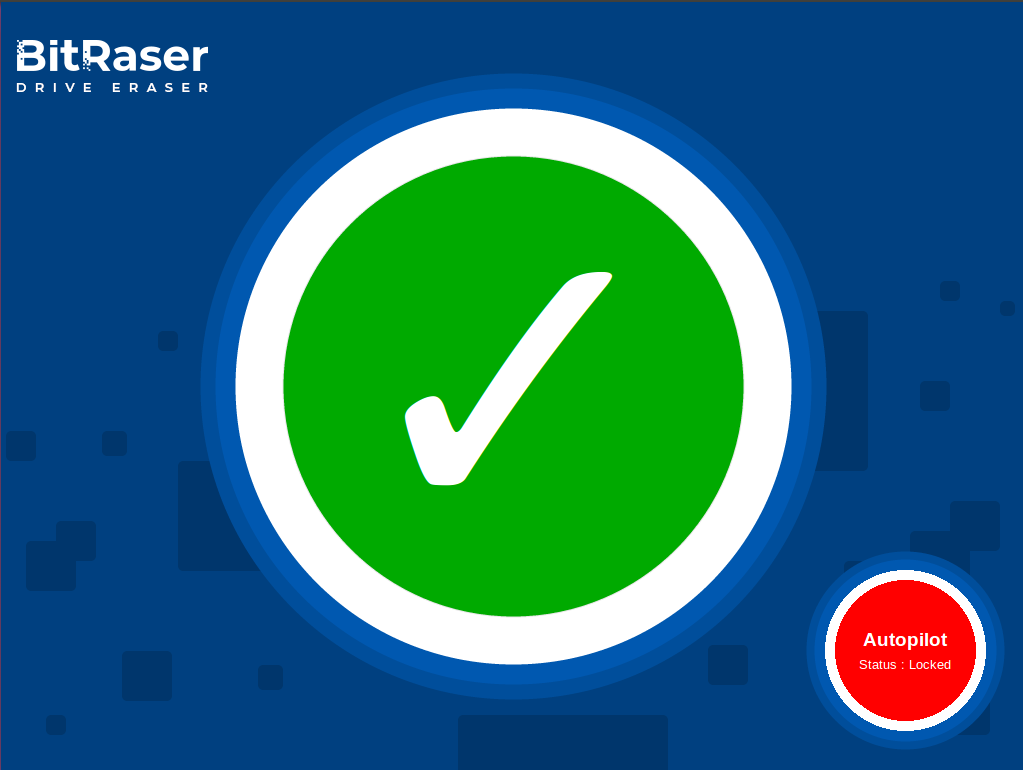
Image 8: Autopilot Locked Screensaver
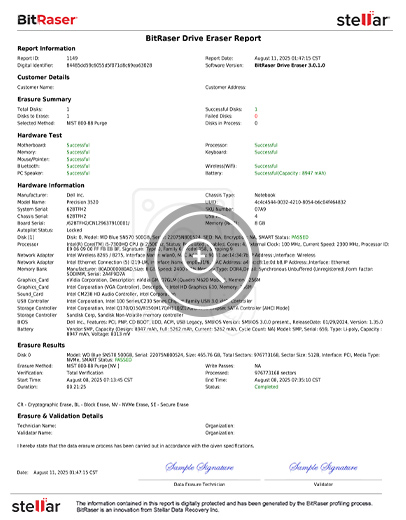
Report: BitRaser Drive Eraser - Autopilot Status Locked
By following these steps, you can detect and flag Microsoft Autopilot–locked devices tied to an organization before resale, donation, or redeployment. BitRaser’s integration with ERP platforms like Makor and RazorERP enables ITADs to centrally flag locked devices and ensure their deregistration is completed before they are redistributed. Further, ITADs can reverify the lock status of previously locked devices on the same machine within 10 days, without using any additional licenses.


